A Step-by-Step Guide to Setting Up Jenkins and Creating a Freestyle Project on Ubuntu EC2 Instance


Are you looking to streamline your development workflow with Jenkins? In this guide, we'll walk through the process of setting up Jenkins on an Ubuntu EC2 instance step by step, and then we'll create a freestyle project. By the end, you'll have a fully functional Jenkins server ready to automate your builds and deployments.
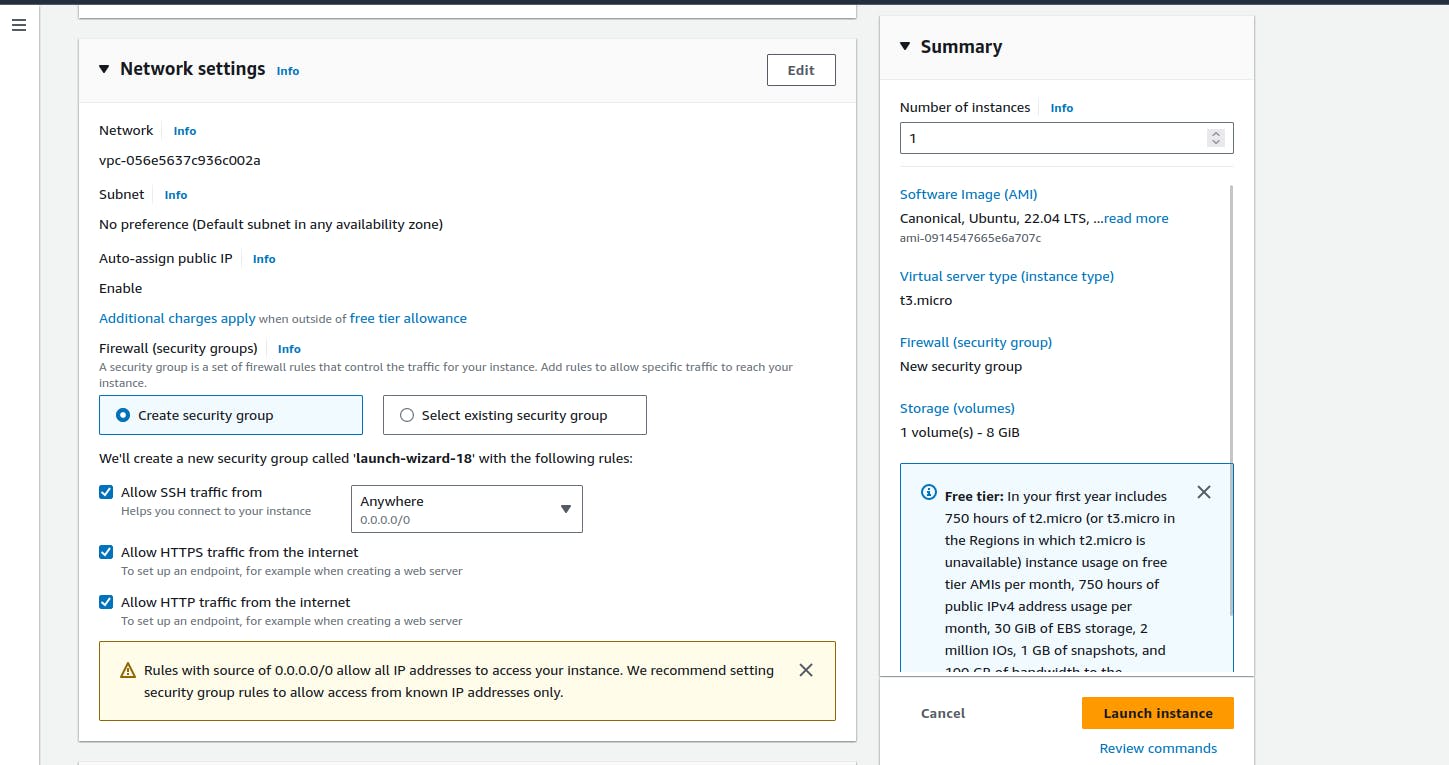
Step 1: Create an EC2 Instance
First, launch an EC2 instance with the following specifications:
Instance type: t2.micro
Operating System: Ubuntu
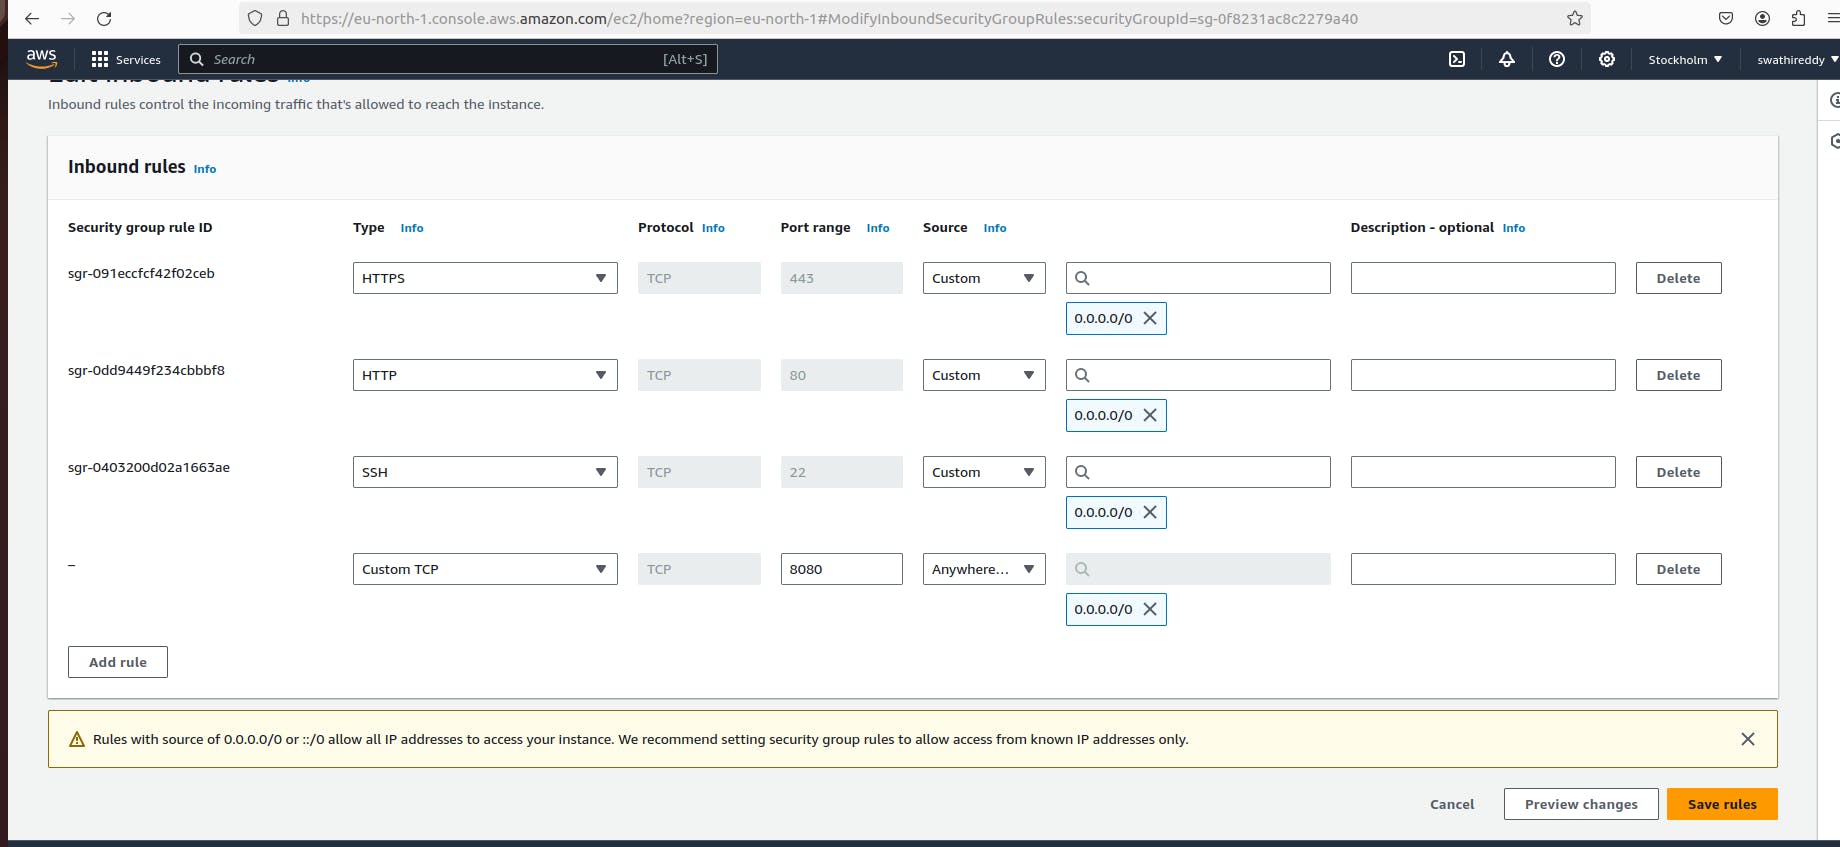
Security Group: Allow SSH, HTTP, and HTTPS traffic from the internet
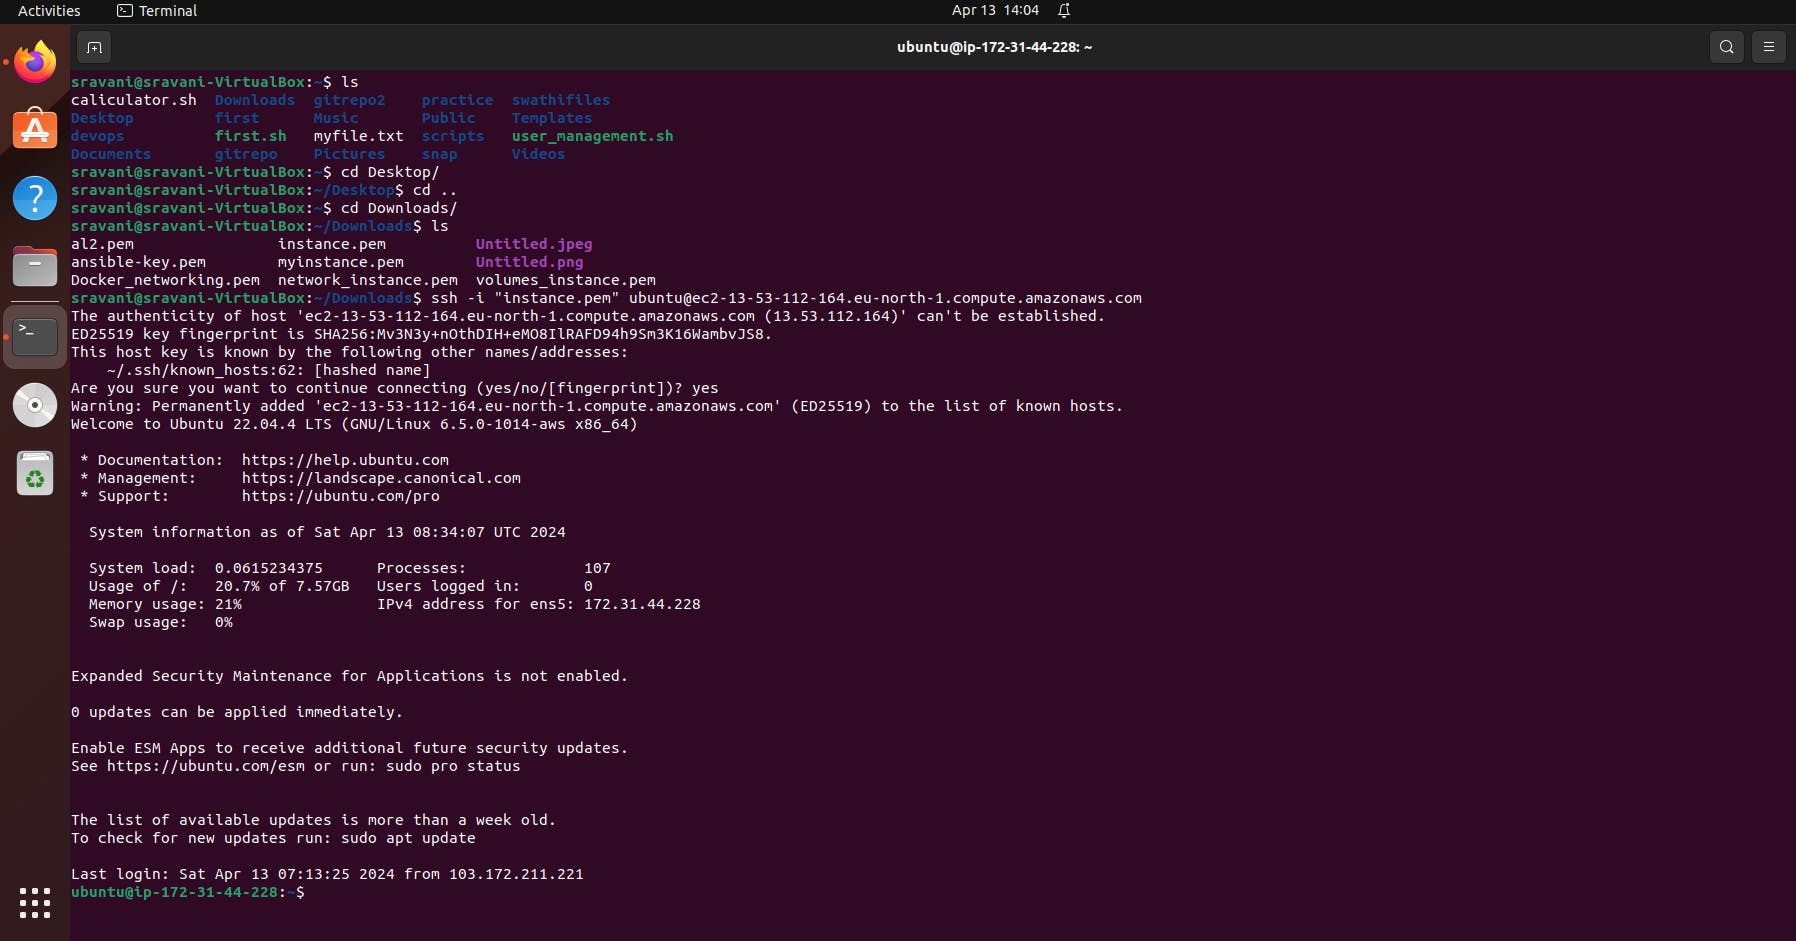
Step 2: Connect to the Instance
Once your instance is up and running, use SSH to connect to it:
ssh -i "instance.pem" ubuntu@ec2-13-60-54-116.eu-north-1.compute.amazonaws.com
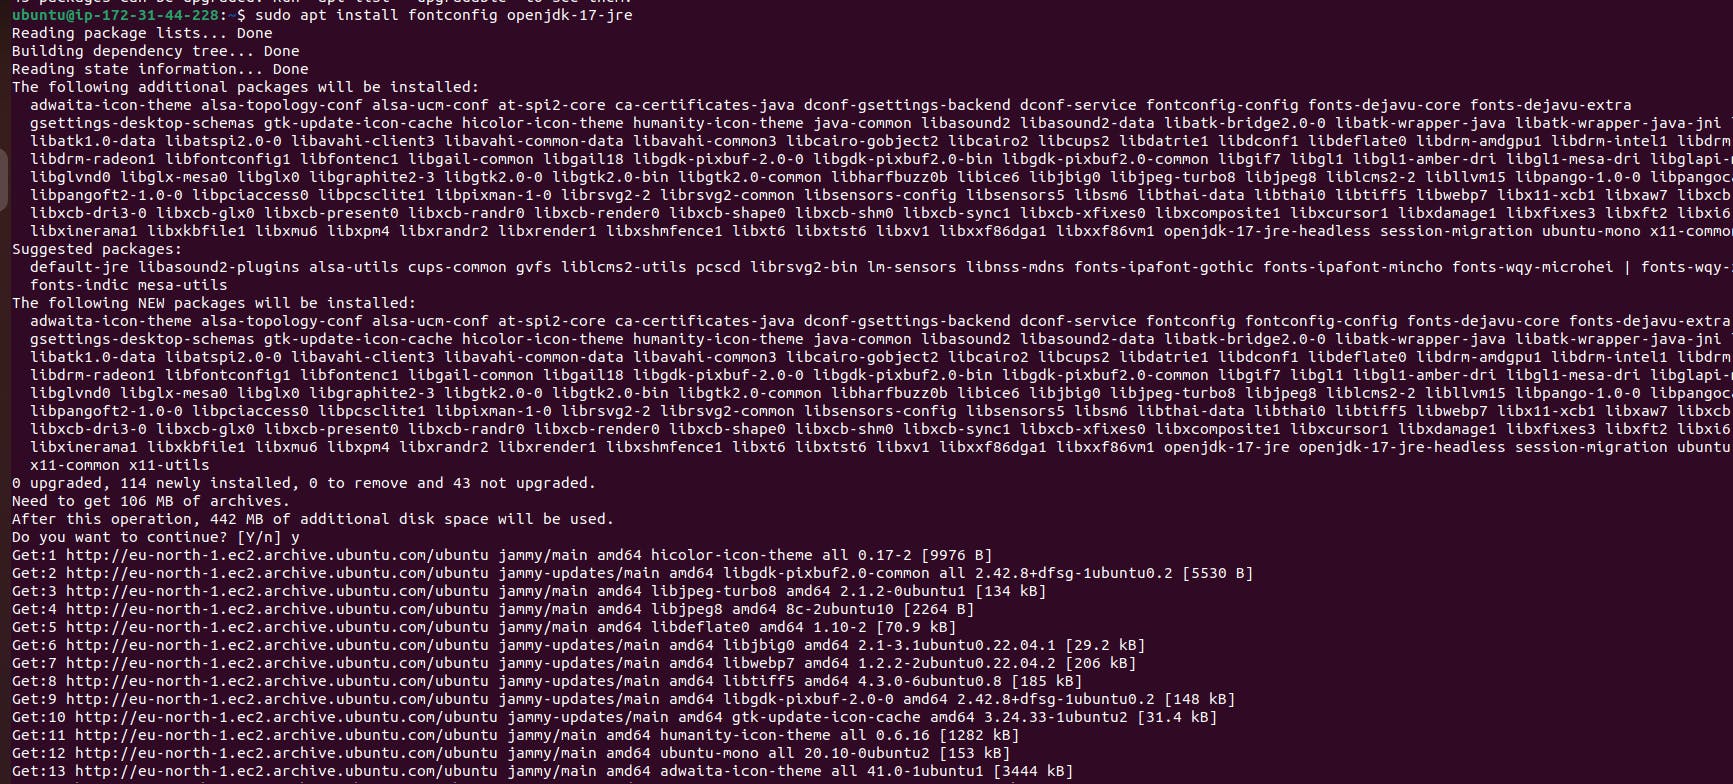
Step 3: Install Java and Jenkins
Before installing Jenkins, ensure that Java Development Kit (JDK) is installed:
sudo apt update
sudo apt install openjdk-17-jre
java -version

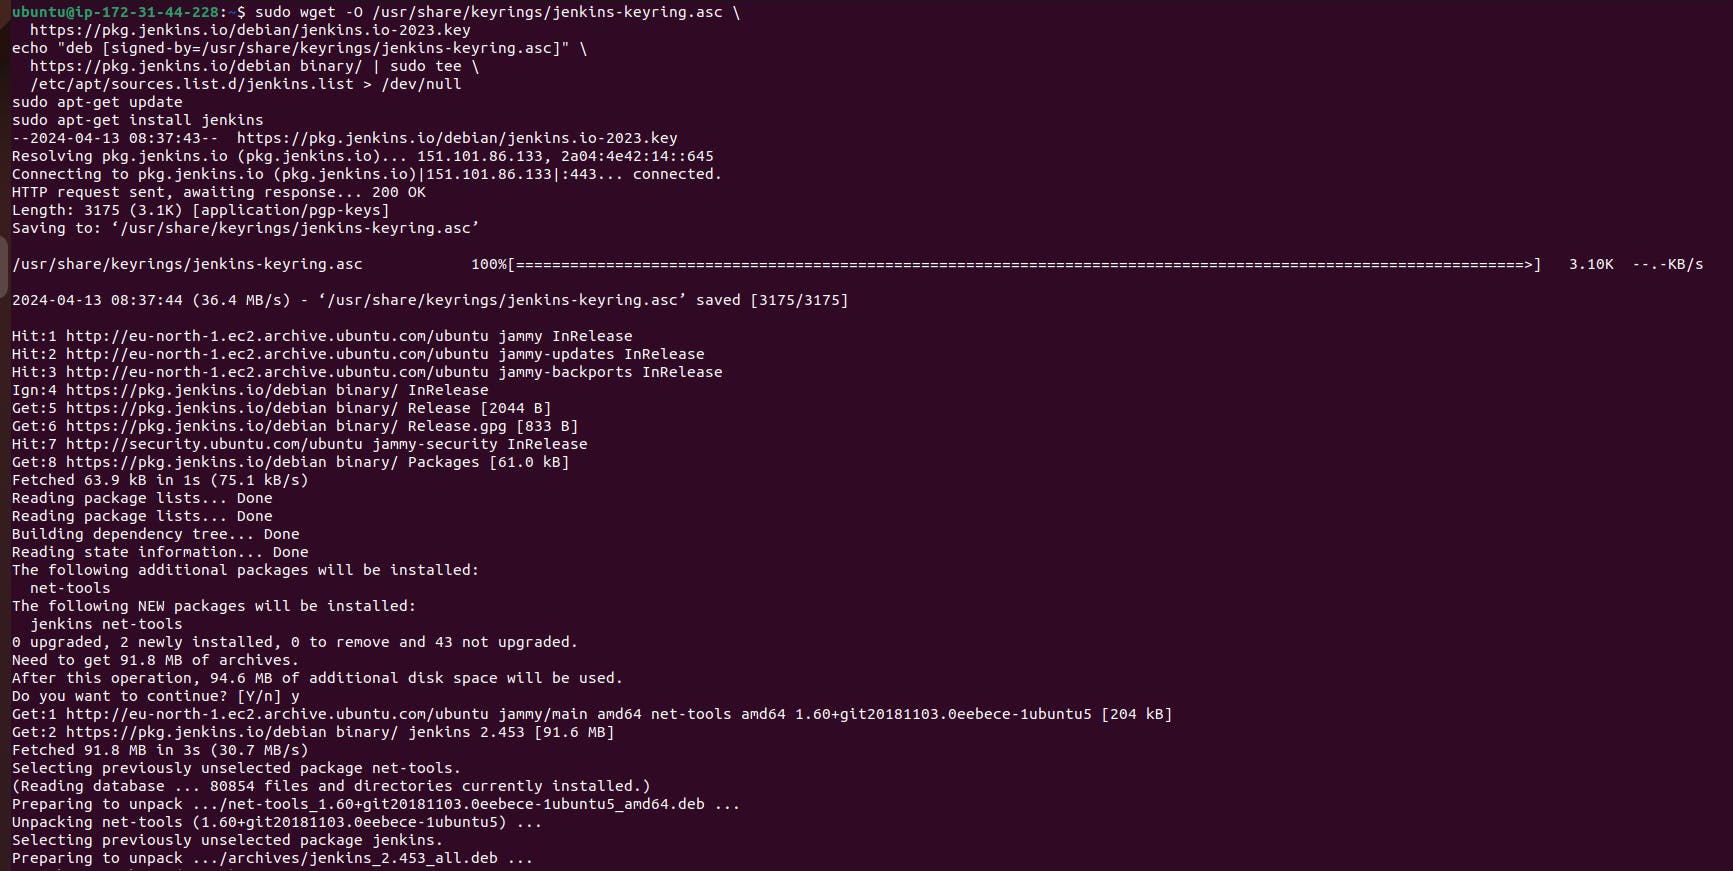
Next, install Jenkins:
sudo wget -O /etc/apt/sources.list.d/jenkins.list \
    https://pkg.jenkins.io/debian-stable/jenkins.list
sudo apt-get update
sudo apt-get install jenkins
Step 4: Start Jenkins Service
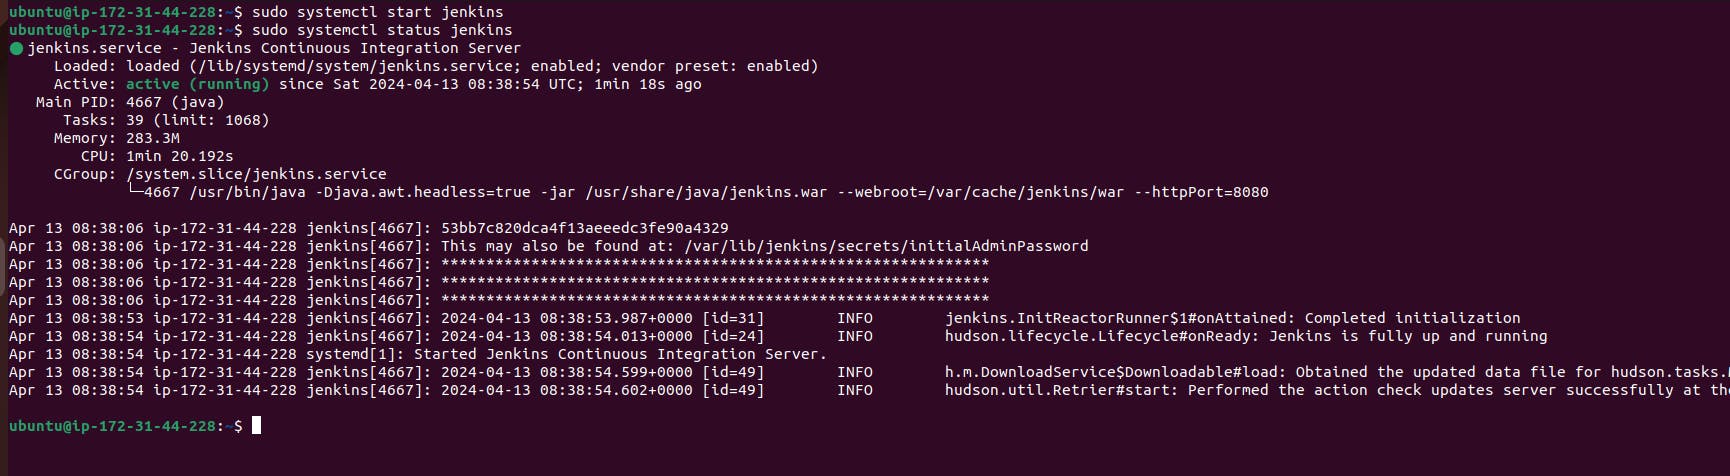
Start the Jenkins service and enable it to start at boot:
sudo systemctl start jenkins
sudo systemctl enable jenkins
Step 5: Access Jenkins Web Interface
You can access the Jenkins web interface by navigating to:
http://<your_instance_public_ip>:8080
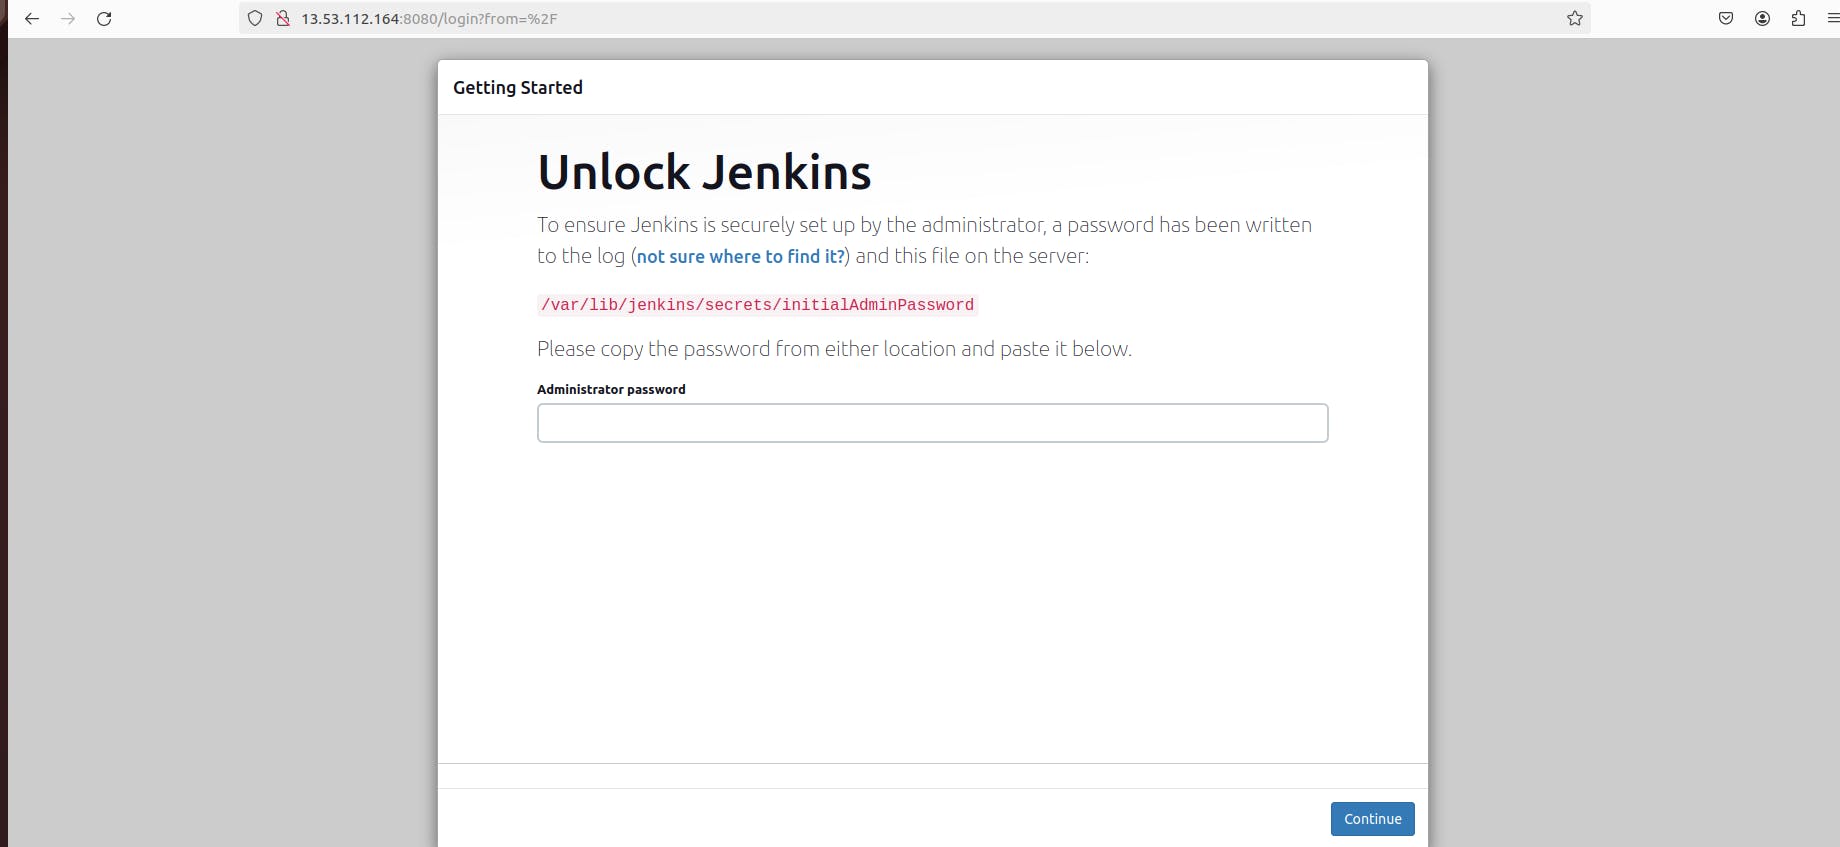
Step 6: Configure Jenkins
- Retrieve the initial admin password:
sudo cat /var/lib/jenkins/secrets/initialAdminPassword
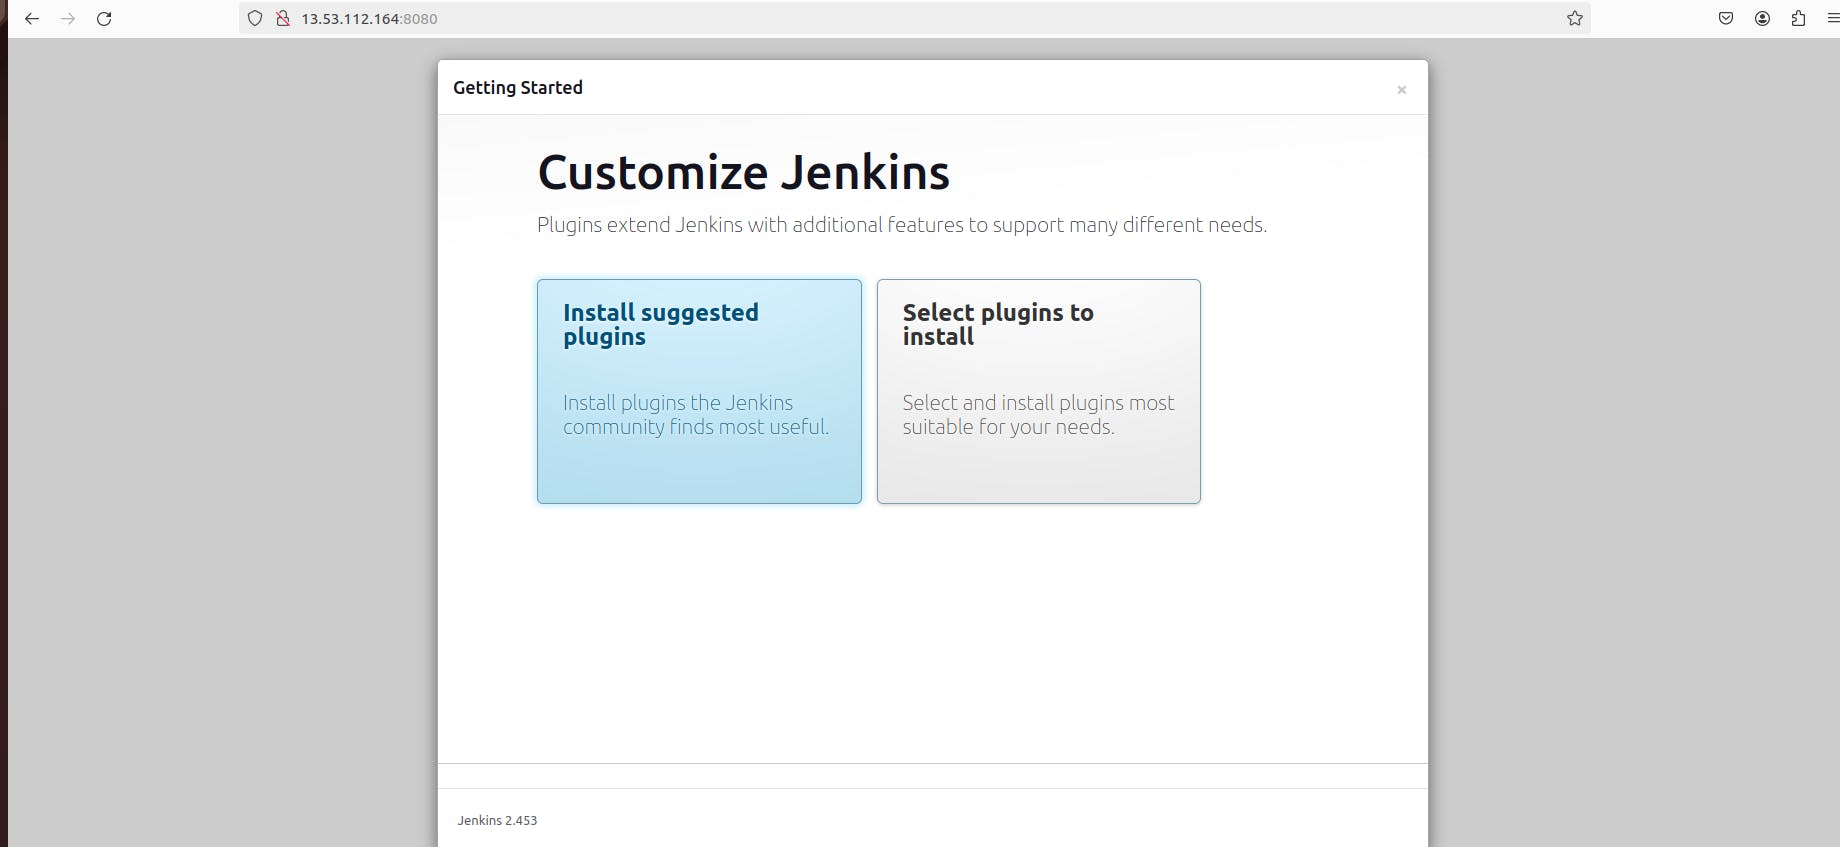
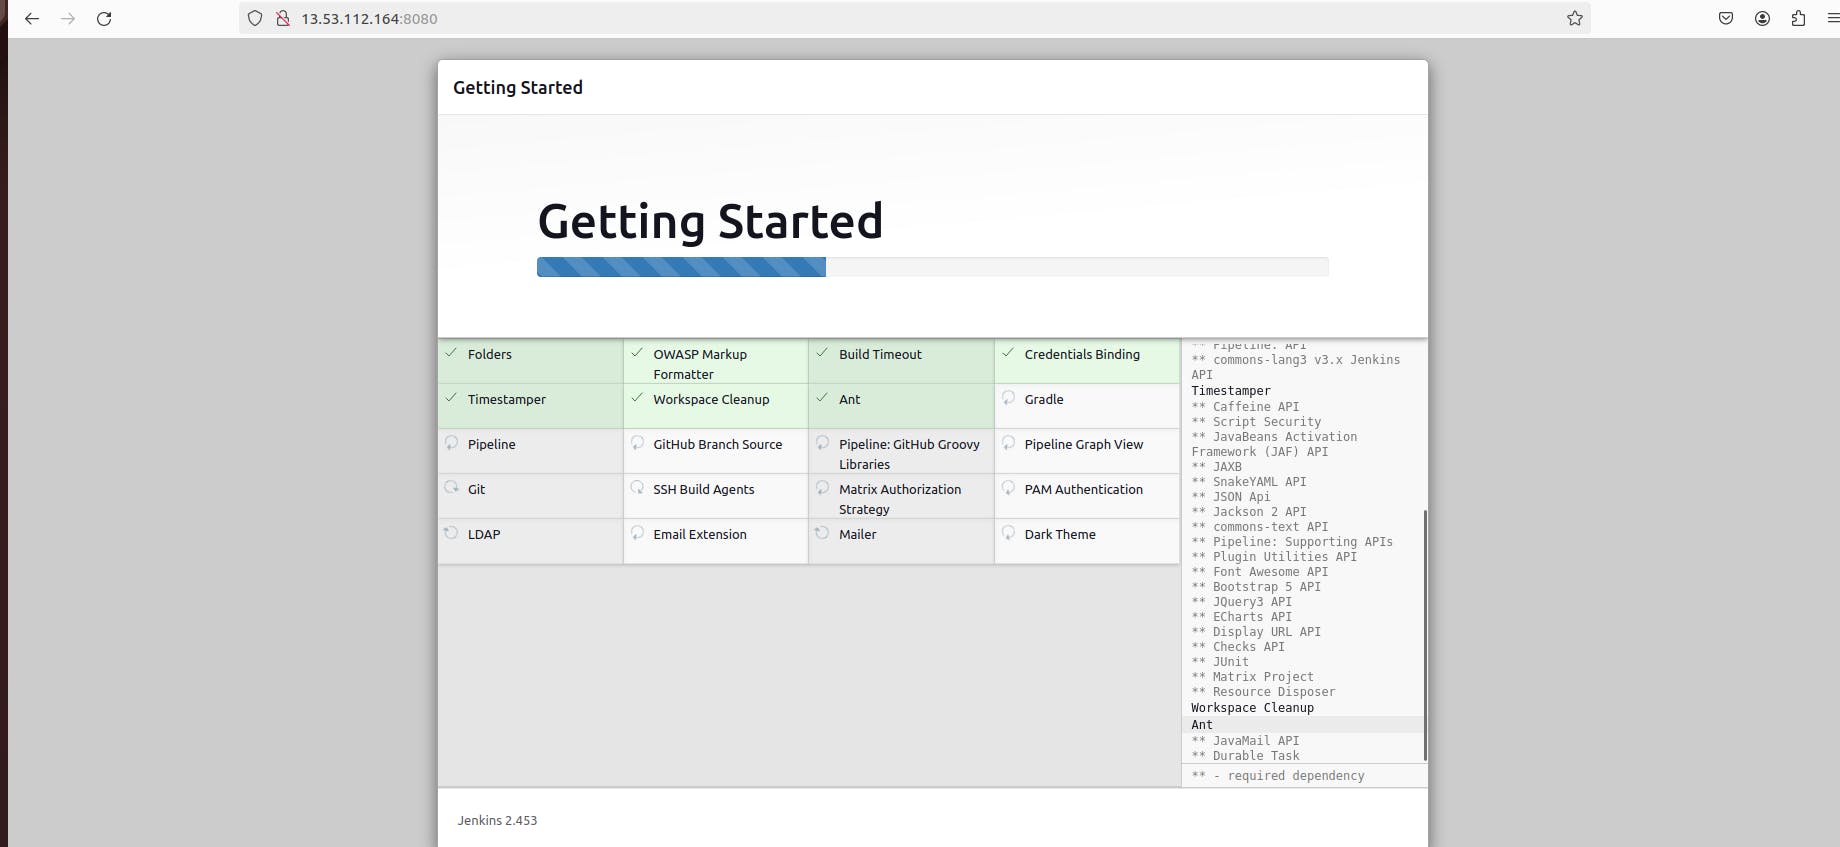
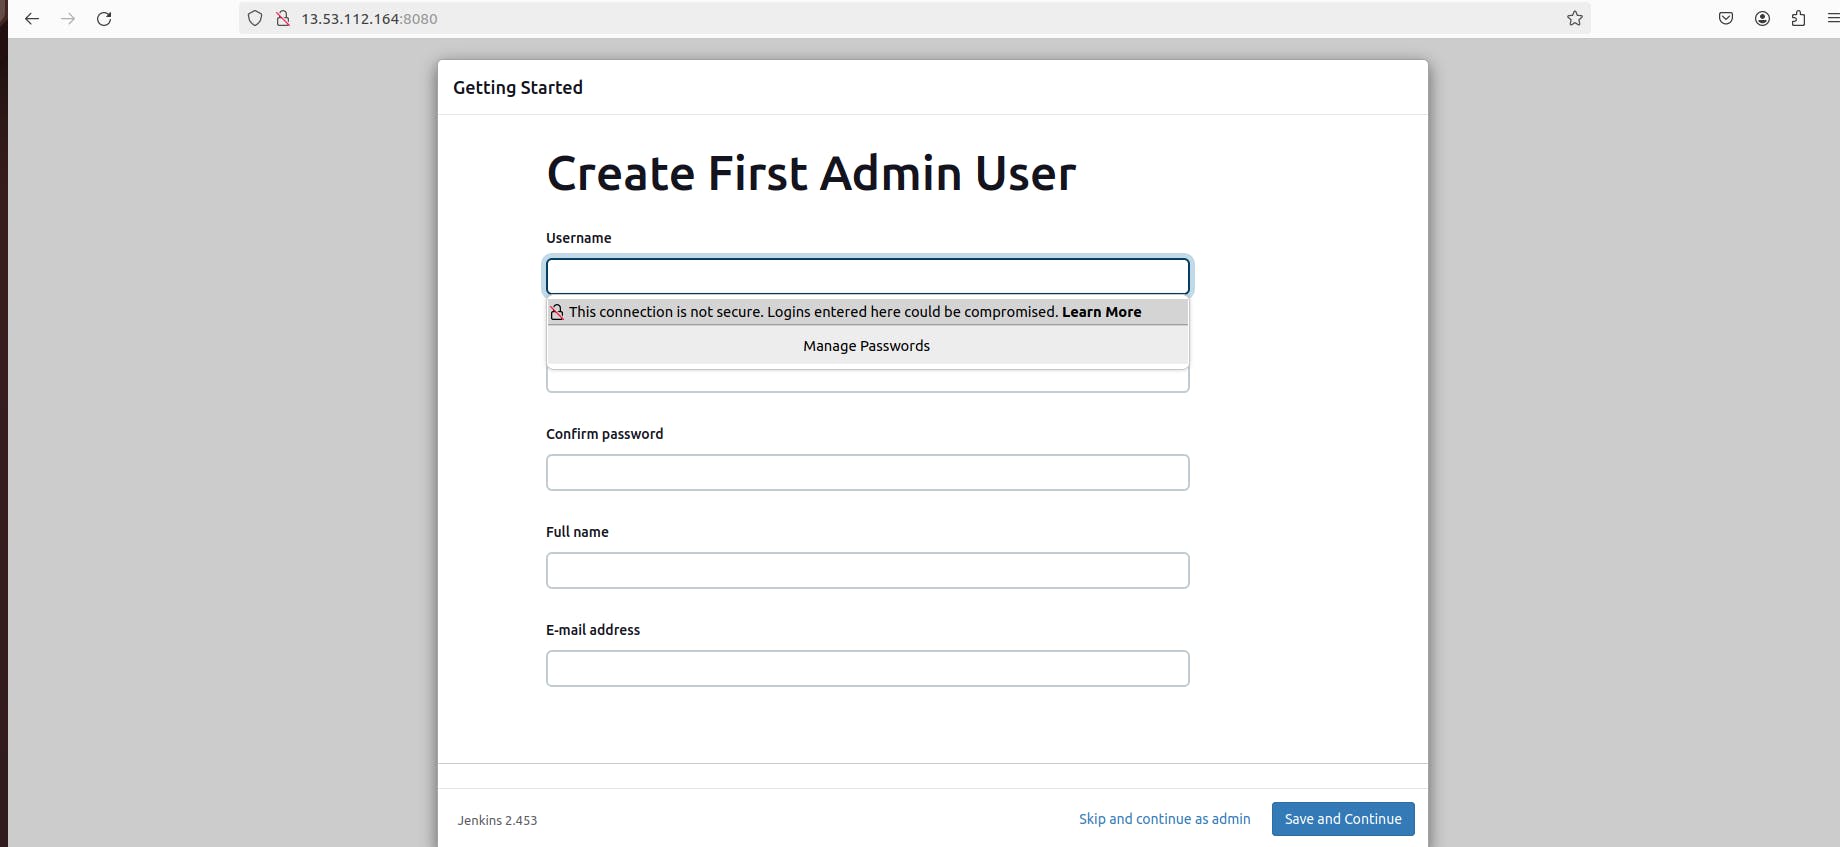
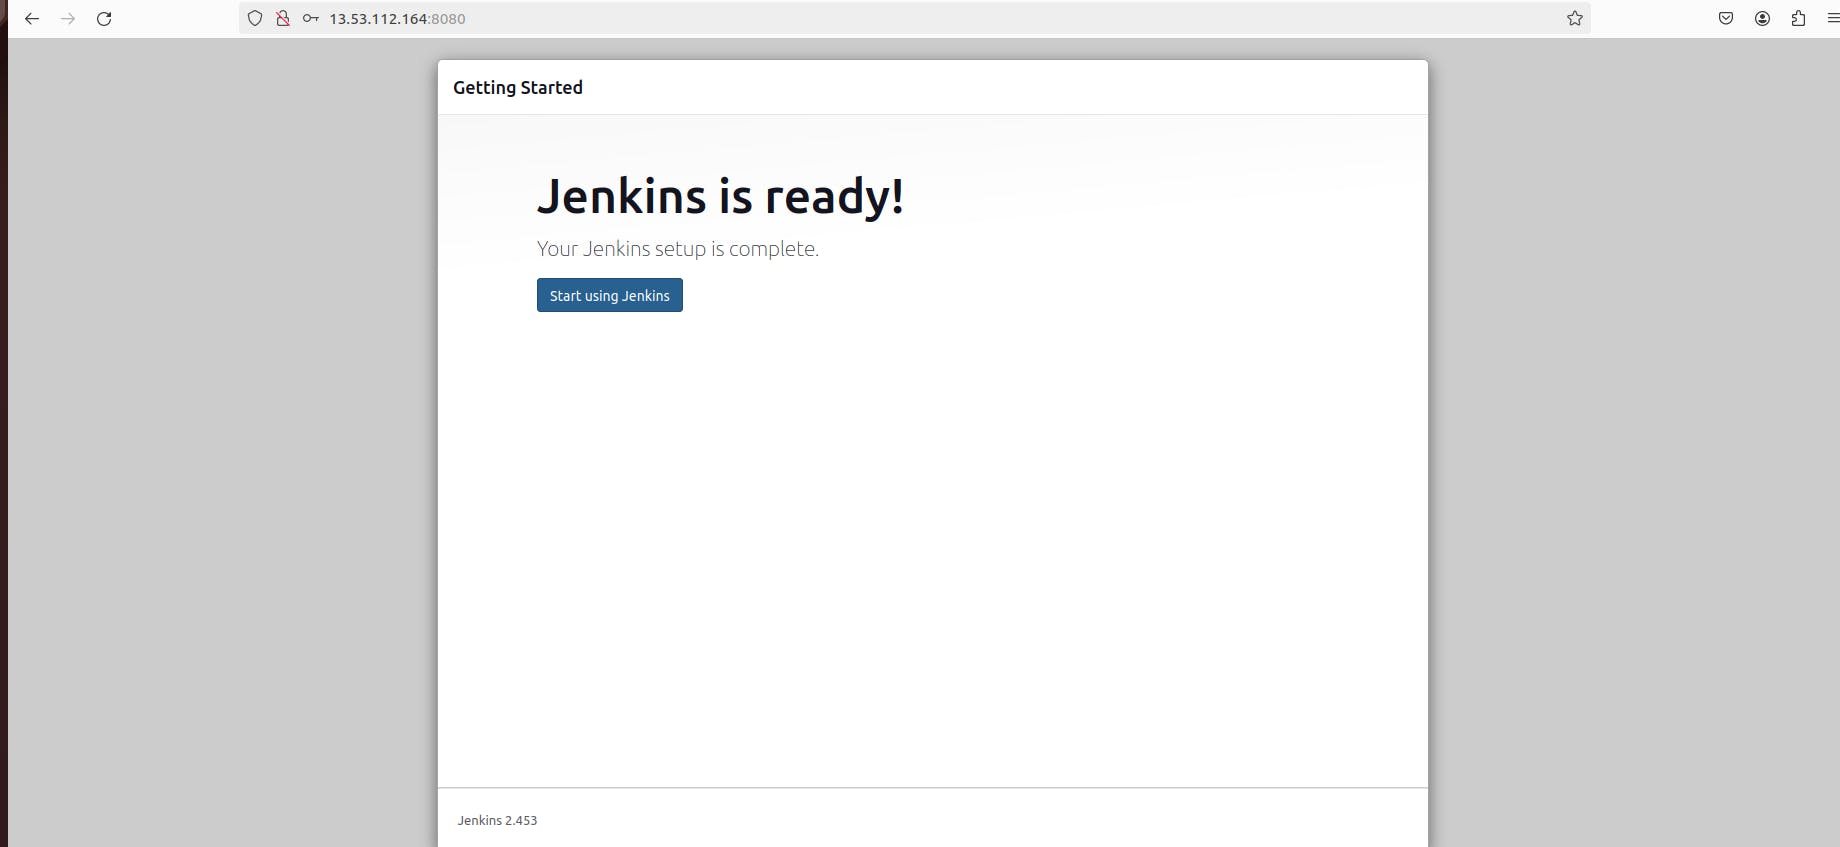
Follow the on-screen instructions to set up your admin account and install suggested plugins.
Configure Jenkins plugins according to your requirements.

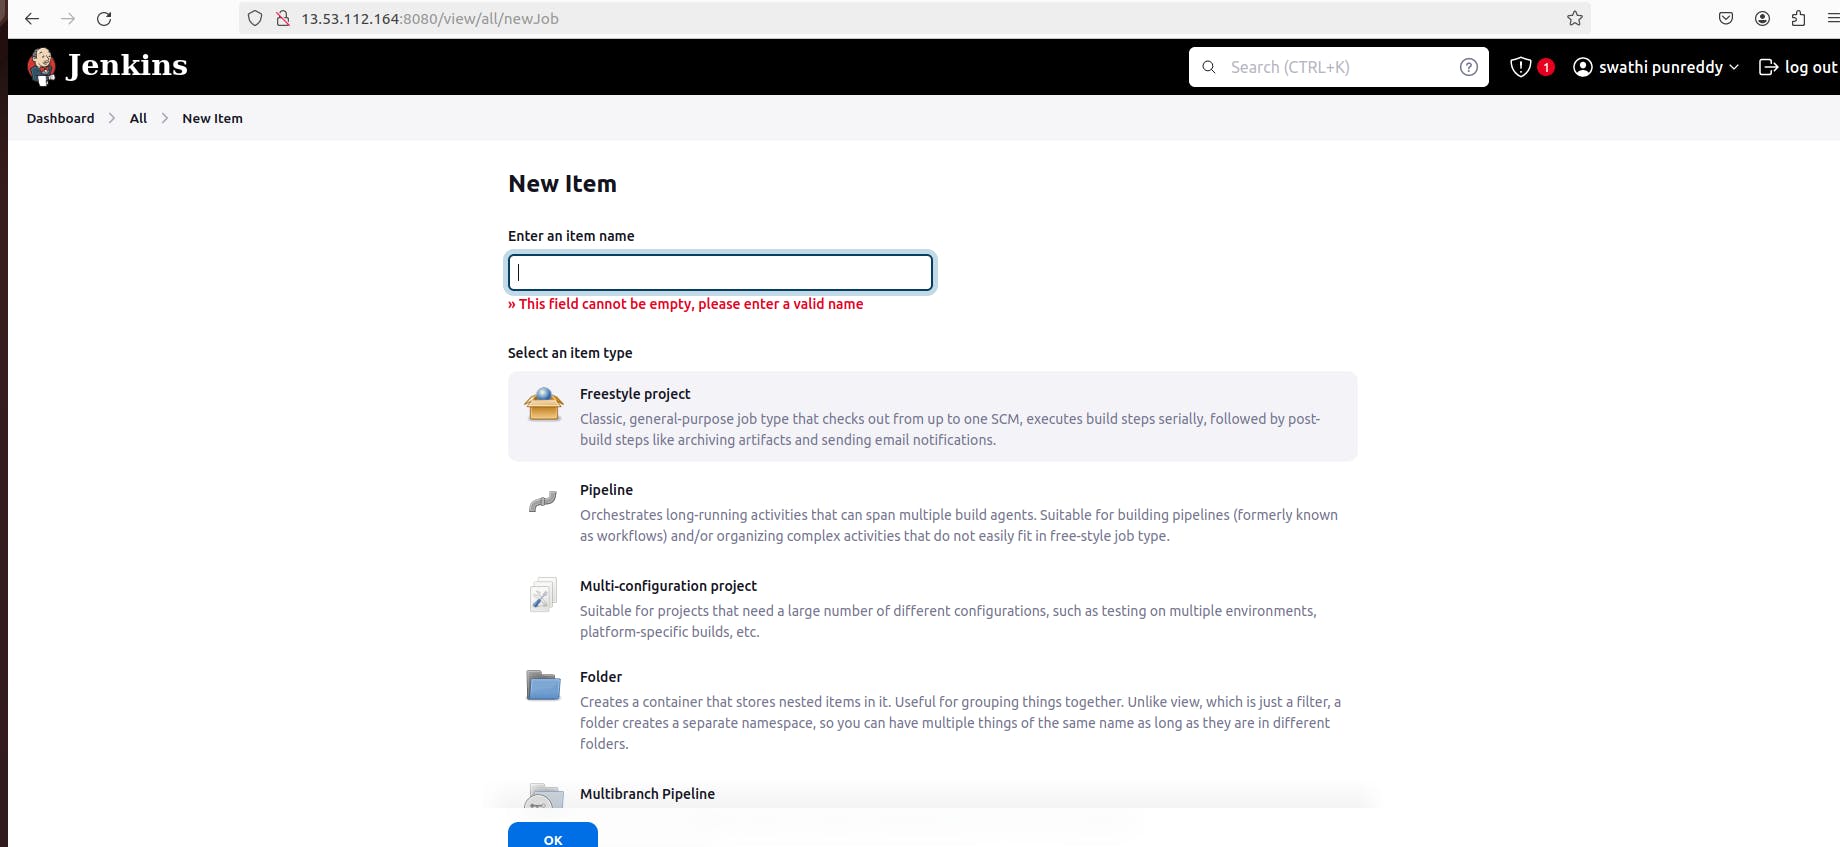
Step 7: Set Up a Freestyle Project
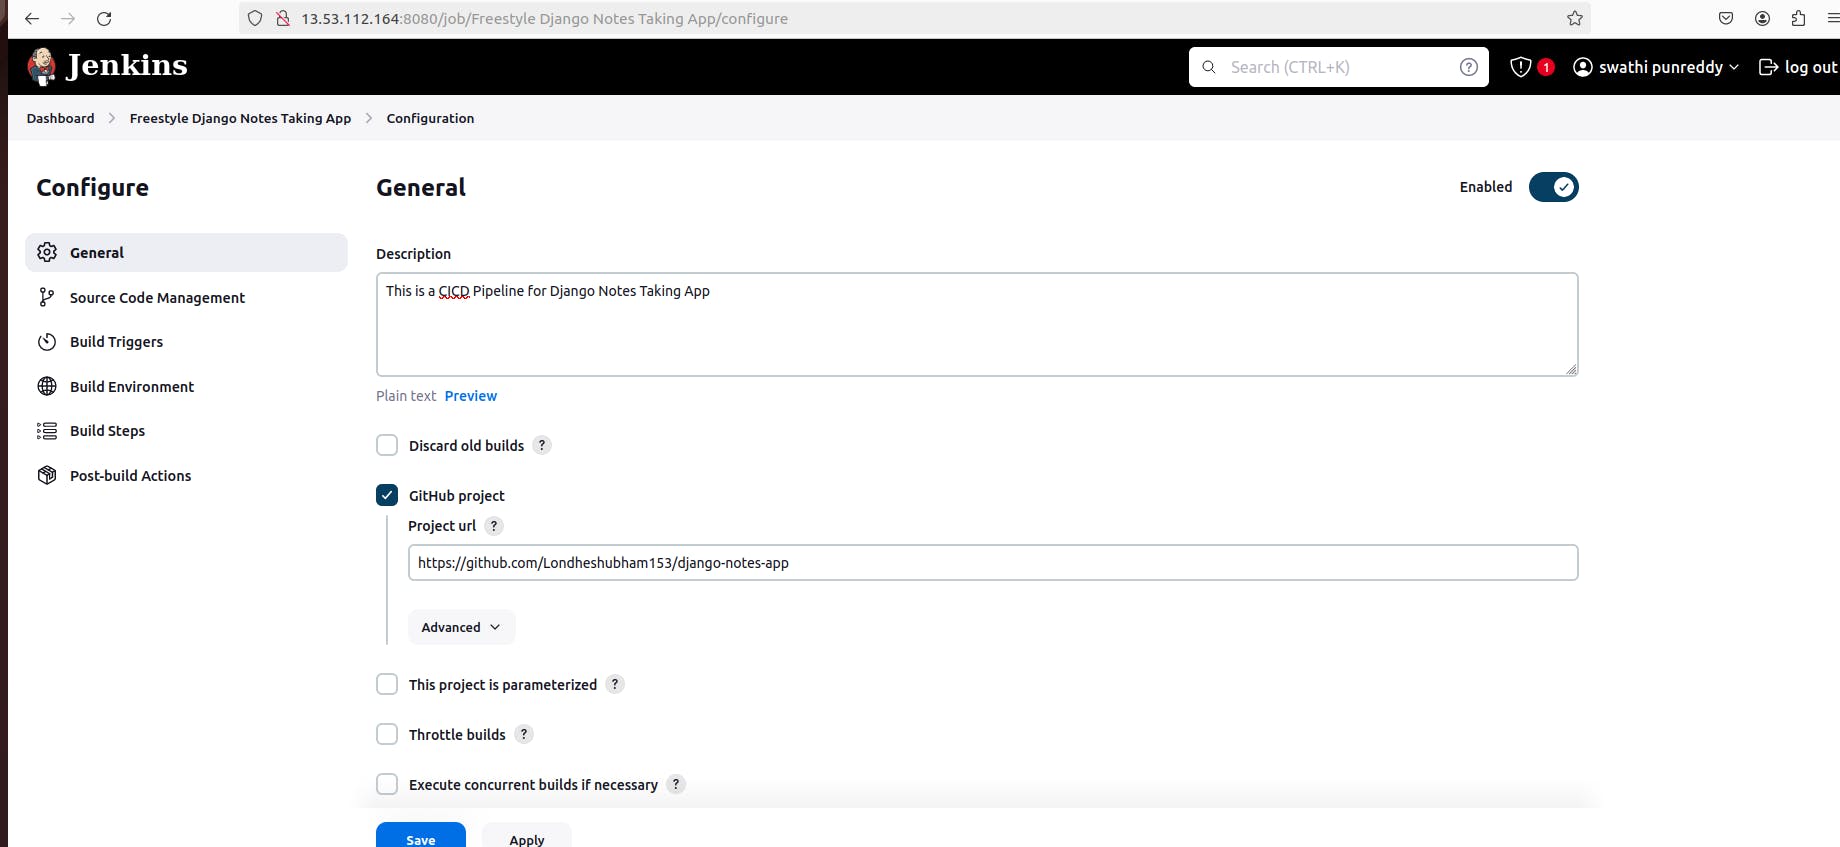
Create a new project and select "Freestyle project".
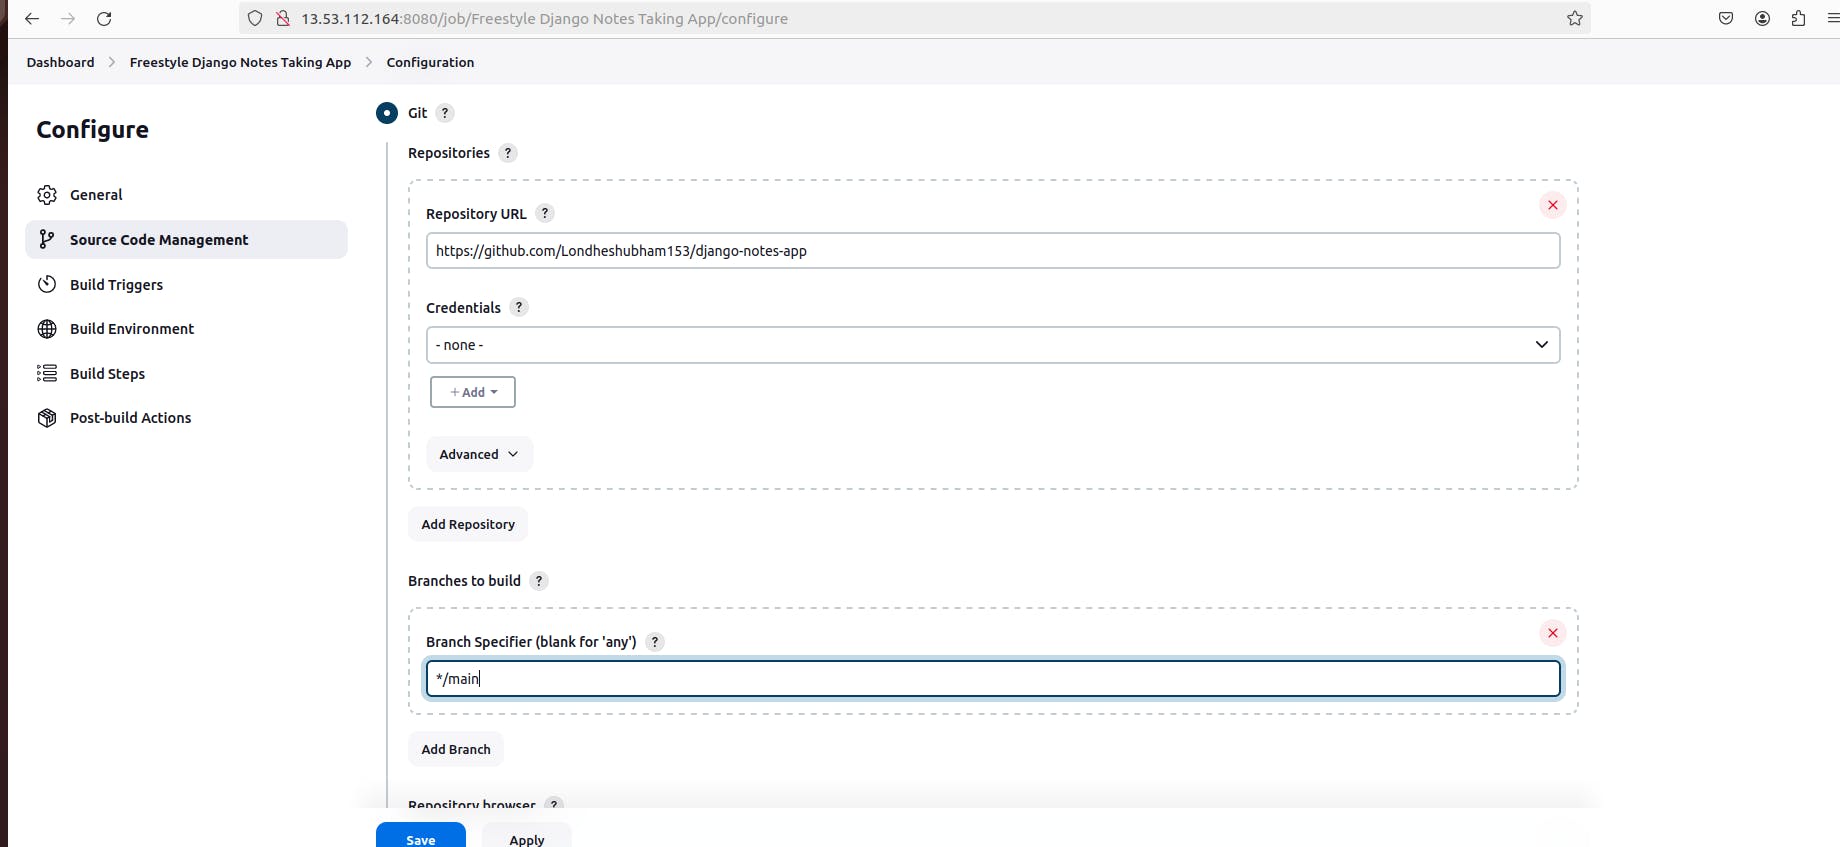
Provide project details and specify the GitHub repository URL.
Configure build triggers, such as GitHub hook trigger for GITscm polling.
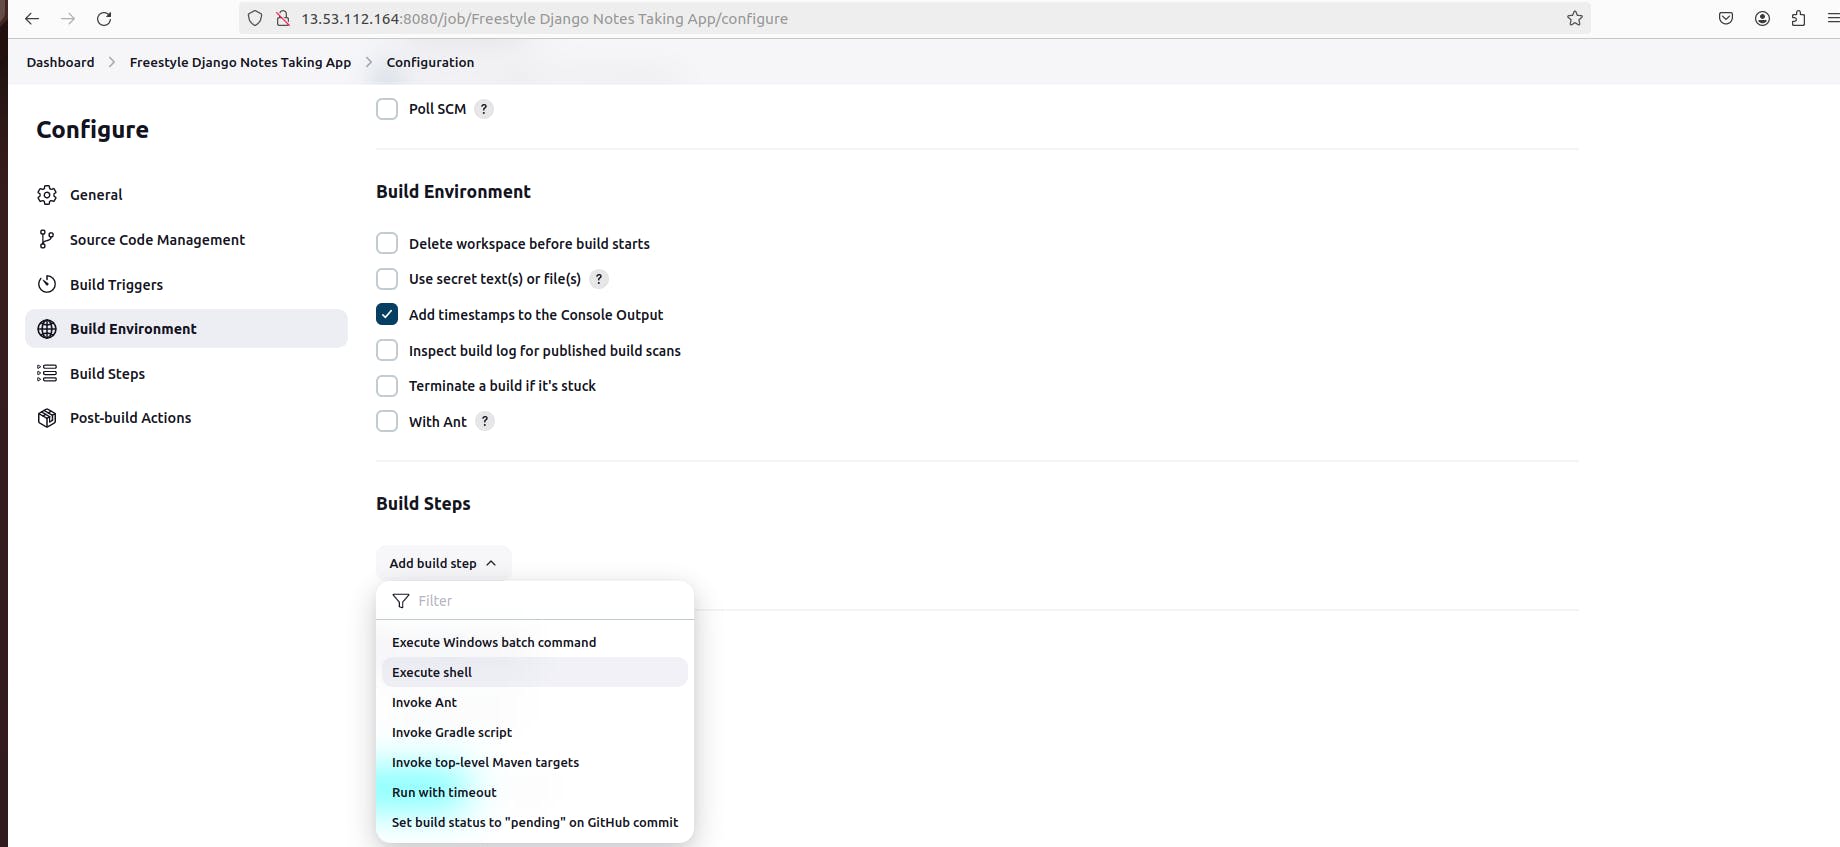
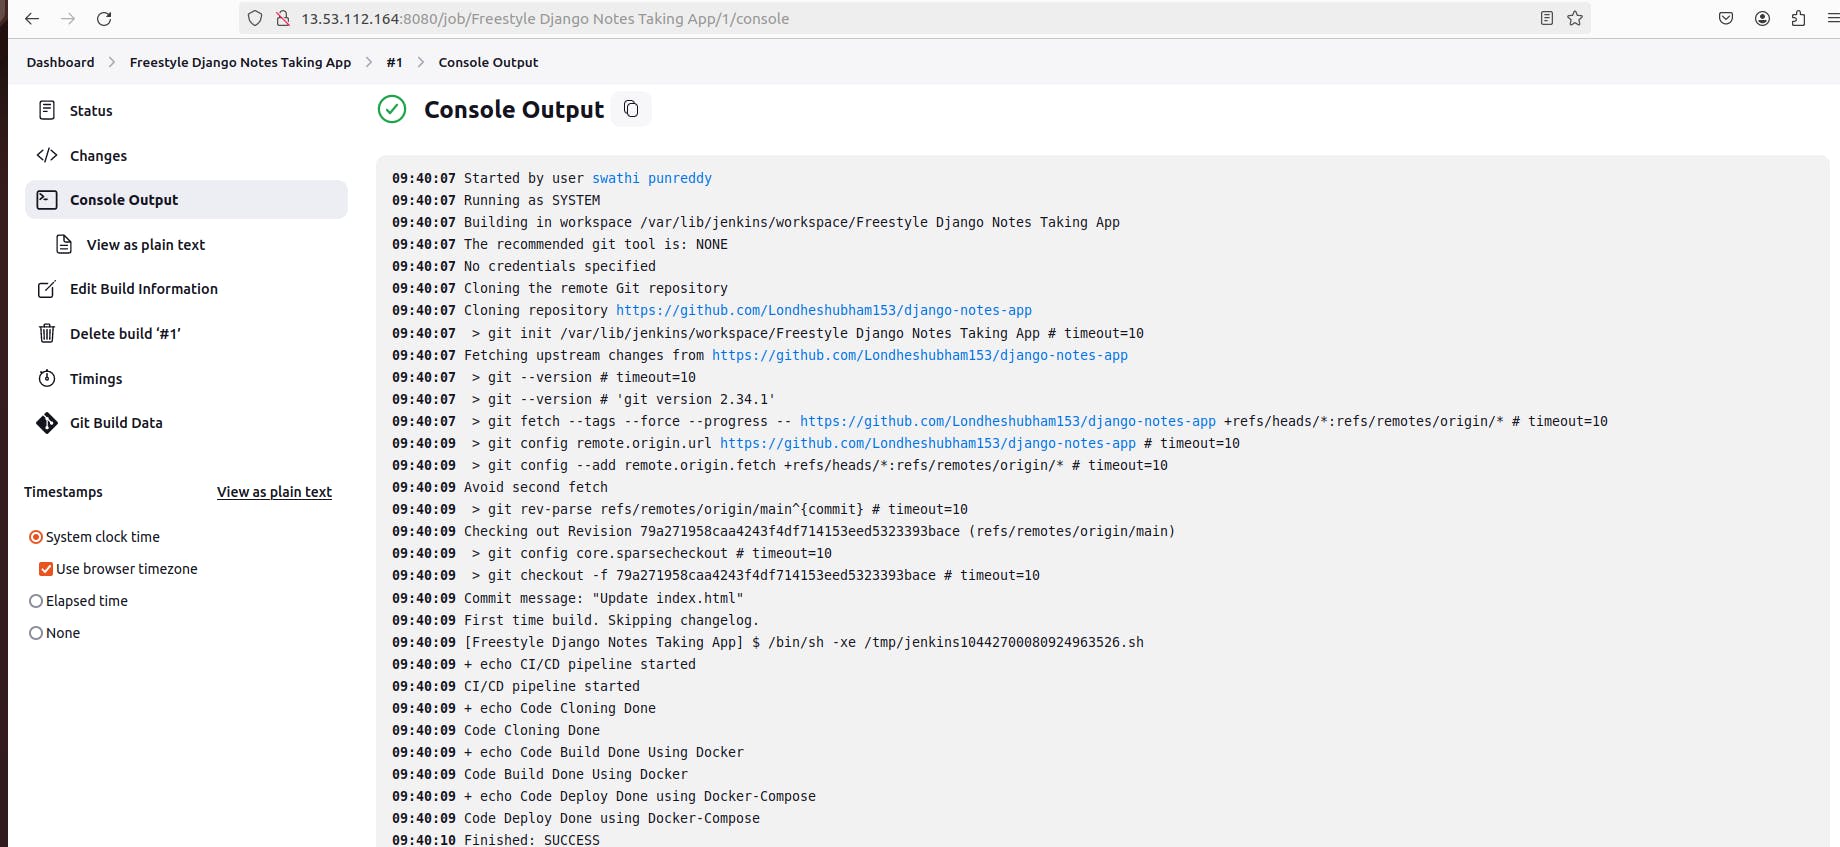
Configure build environment and steps, such as adding timestamps and executing shell commands:
# Example shell commands
echo "CI/CD pipeline started"
echo "Code Cloning Done"
echo "Code Build Done Using Docker"
echo "Code Deploy Done using Docker-Compose"

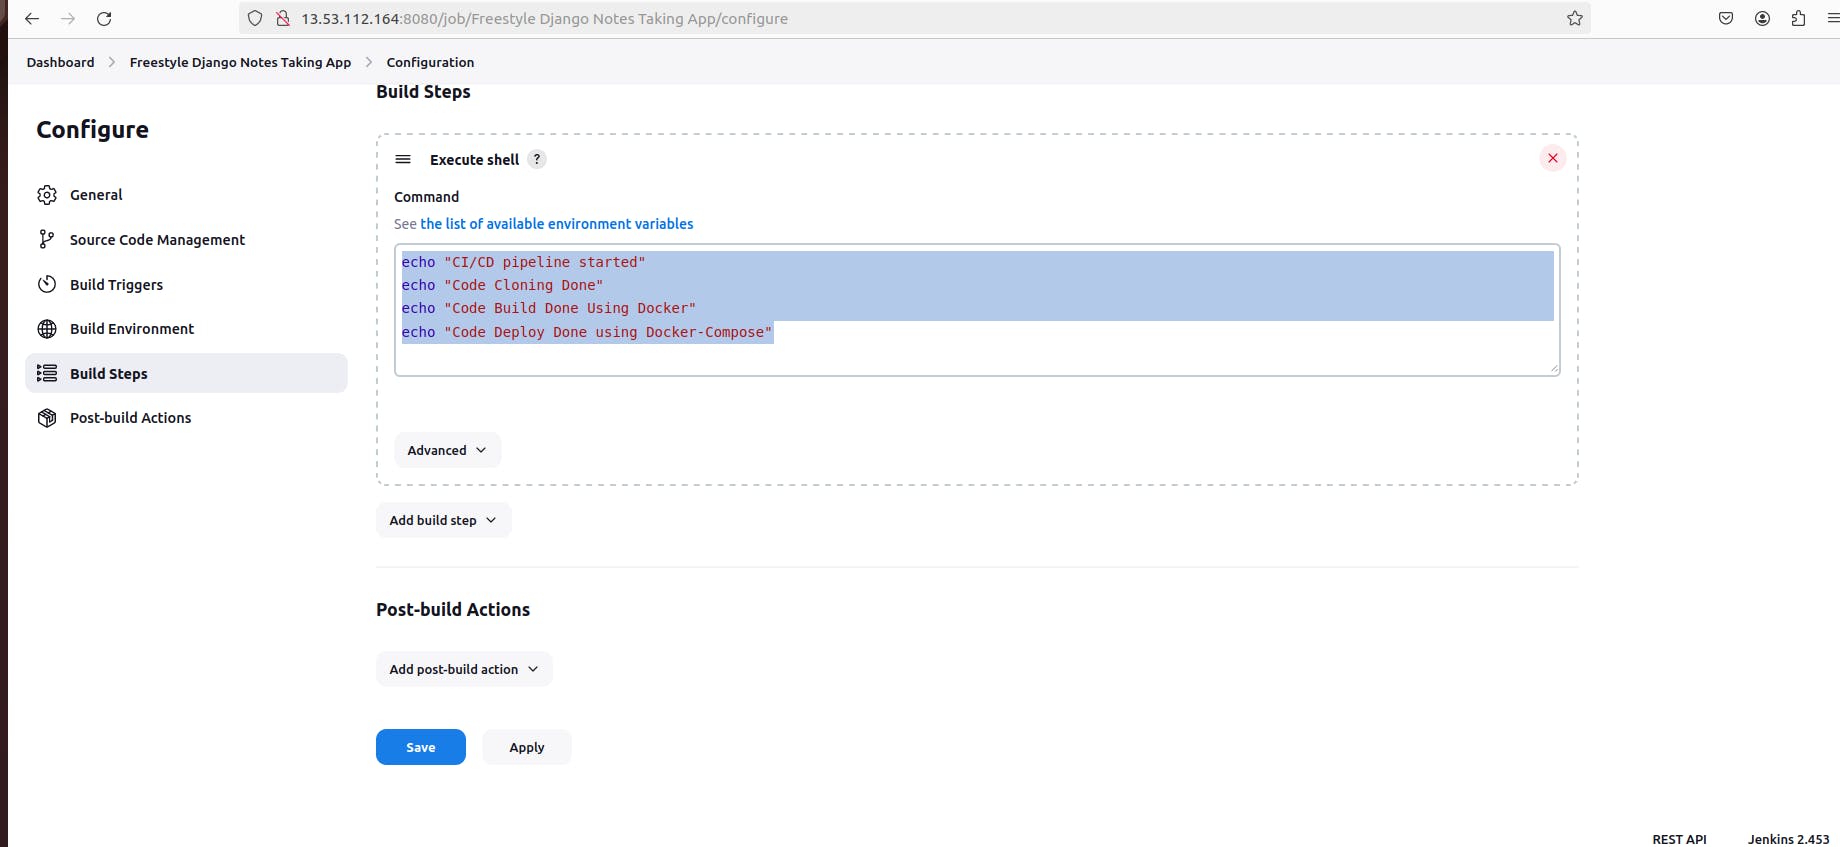
Save your configuration and run the build.
Conclusion
Congratulations! You've successfully set up Jenkins on your Ubuntu EC2 instance and created a freestyle project. With Jenkins, you can automate your software development processes, streamline deployments, and improve overall efficiency. Explore Jenkins further to unlock its full potential for your projects.
Happy building!