

In modern software development, containerization has become a popular approach for deploying applications consistently across different environments. Docker, a leading containerization platform, simplifies the process of packaging, distributing, and running applications in containers. In this guide, we'll explore how to deploy a two-tier Flask app with MySQL using Docker.
Prerequisites
Before we begin, ensure that you have the following prerequisites installed:
Docker
Git (optional, for cloning the repository)
Setup
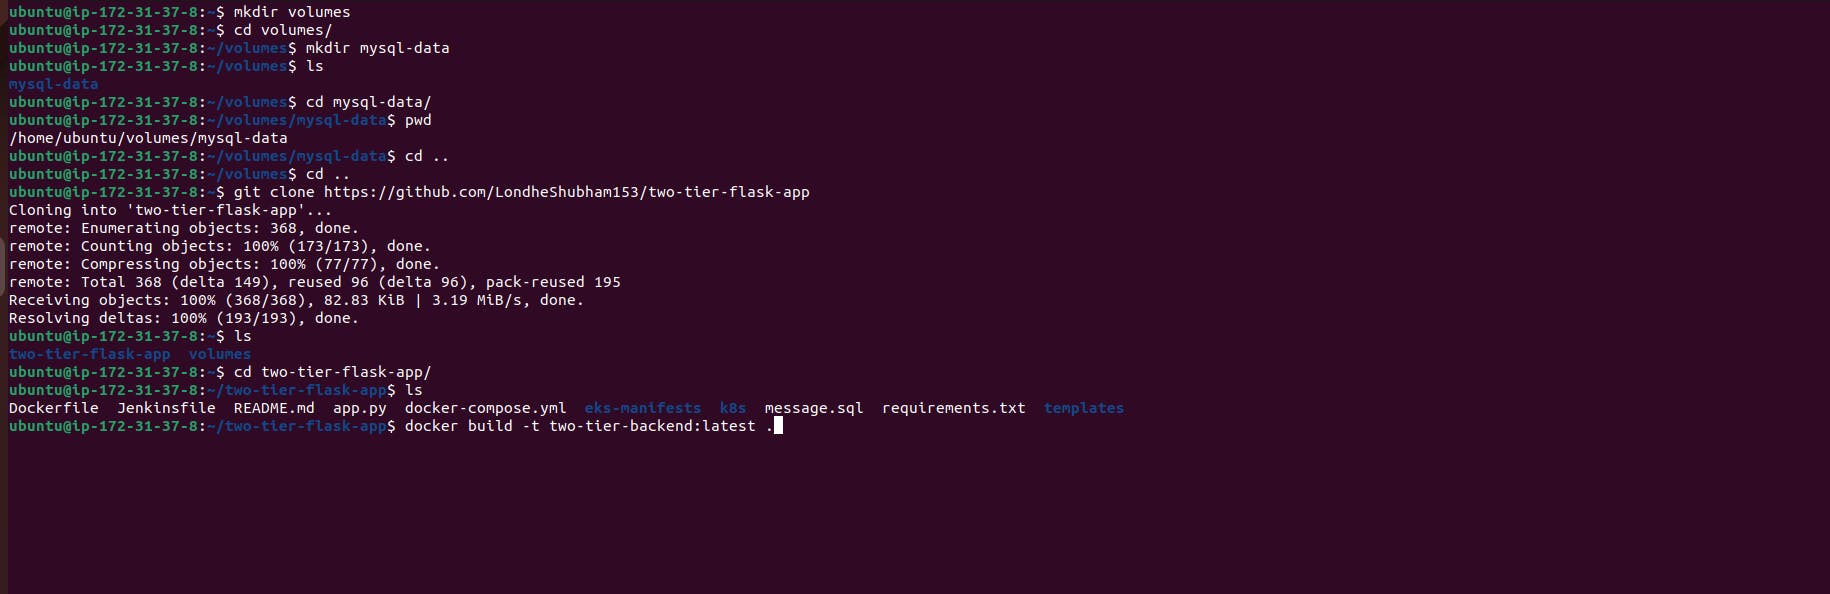
Clone the Repository: If you haven't already, clone the repository containing the Flask app:
git clone https://github.com/your-username/your-repo-name.gitNavigate to the Project Directory: Enter the project directory:
cd your-repo-name
Usage
Create Docker Network: Ensure that a Docker network named
twotierexists:docker network create twotier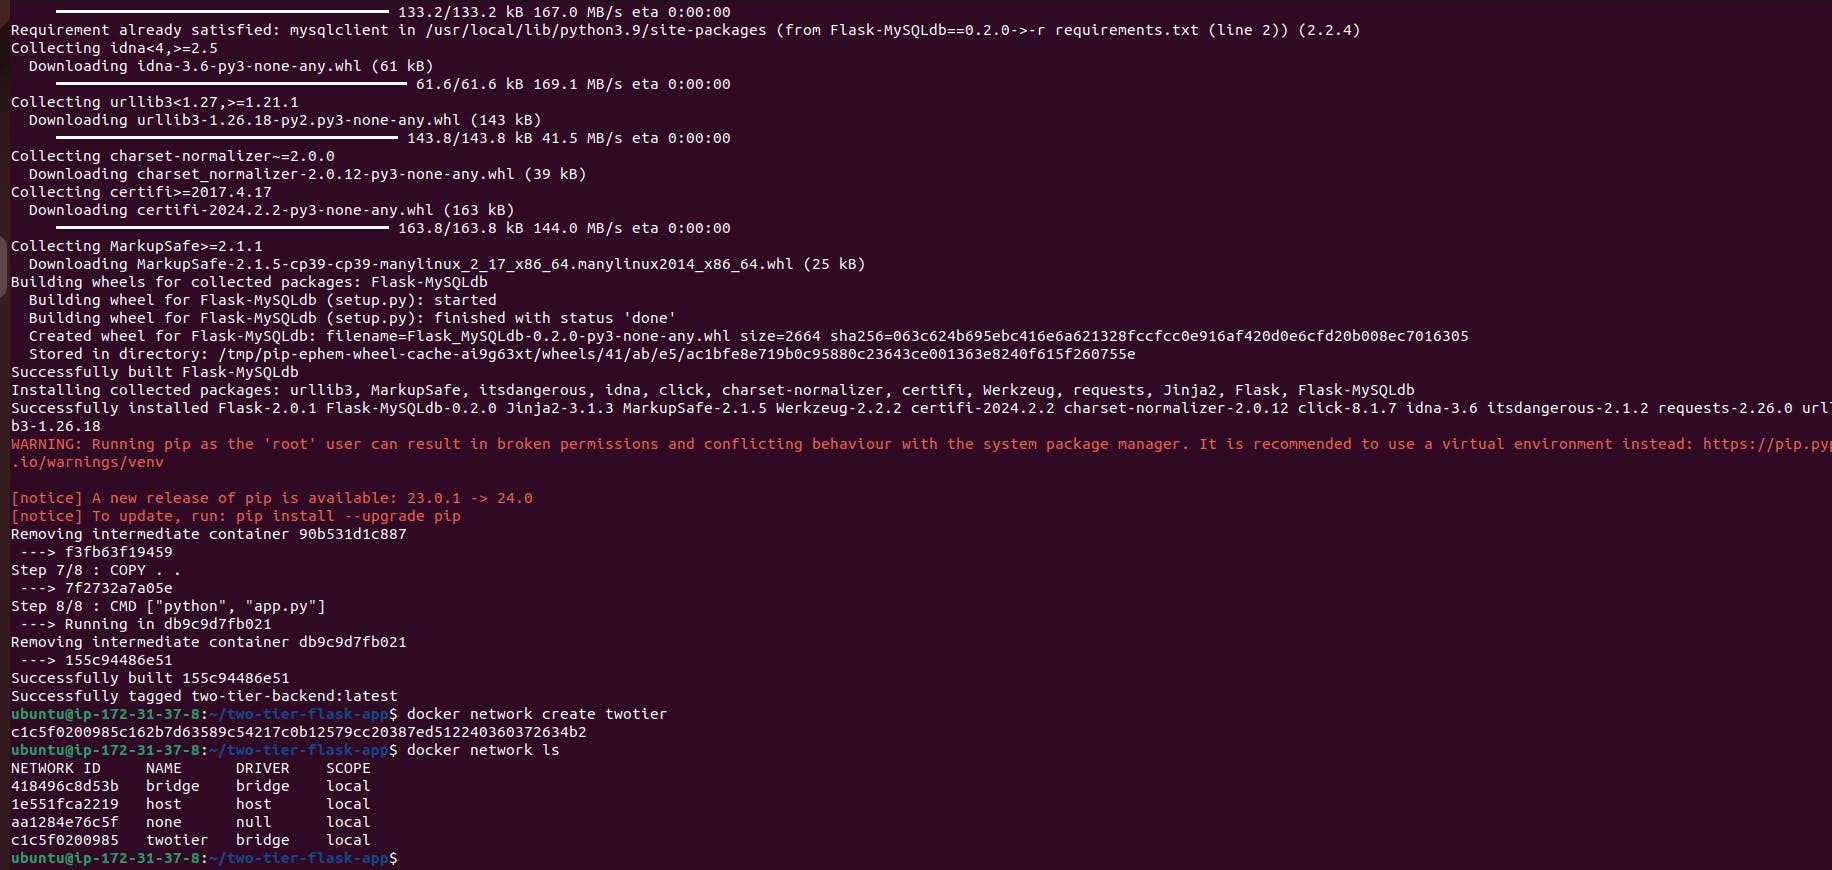
Dockerfile:
 # Use an official Python runtime as the base image
 FROM python:3.9-slim

 # Set the working directory in the container
 WORKDIR /app

 # install required packages for system
 RUN apt-get update \
     && apt-get upgrade -y \
     && apt-get install -y gcc default-libmysqlclient-dev pkg-config \
     && rm -rf /var/lib/apt/lists/*

 # Copy the requirements file into the container
 COPY requirements.txt .

 # Install app dependencies
 RUN pip install mysqlclient
 RUN pip install --no-cache-dir -r requirements.txt

 # Copy the rest of the application code
 COPY . .

 # Specify the command to run your application
 CMD ["python", "app.py"]
Now that we have our Dockerfile set up, let's proceed with running our application. We'll go through the steps required to set up the environment, run the MySQL container, and access the Flask app.
Run MySQL Container: Run the MySQL container and attach it to the
twotiernetwork:docker build -t two-tier-backend:latest . docker run -d -v $(pwd):/var/lib/mysql --network twotier -e MYSQL_USER=root -e MYSQL_PASSWORD=test@123 -e MYSQL_DB=KYC --name two-tier-mysql mysql:5.7Certainly! Let's break down each part of the provided Docker commands:
i.
docker build -t two-tier-backend:latest .docker build: This command is used to build a Docker image from a Dockerfile.-t two-tier-backend:latest: The-tflag is used to tag the image with a name and optionally a tag. Here, we're tagging the image astwo-tier-backendwith the taglatest..: This specifies the build context. In this case, it's the current directory where the Dockerfile is located. Docker looks for a Dockerfile in the specified context to build the image.
So, this command builds a Docker image named two-tier-backend with the latest tag using the Dockerfile located in the current directory.
ii. docker run -d -v $(pwd):/var/lib/mysql --network twotier -e MYSQL_USER=root -e MYSQL_PASSWORD=test@123 -e MYSQL_DB=KYC --name two-tier-mysql mysql:5.7
docker run: This command is used to run a Docker container from an image.-d: This flag runs the container in detached mode, meaning it runs in the background.-v $(pwd):/var/lib/mysql: This option mounts the current directory ($(pwd)) as a volume inside the container at/var/lib/mysql. This is typically done to persist data between container restarts.--network twotier: This option specifies the network the container should connect to. Here, it's connecting to a network namedtwotier.-e MYSQL_USER=root -e MYSQL_PASSWORD=test@123 -e MYSQL_DB=KYC: These options set environment variables inside the container. They define the MySQL username, password, and database name.--name two-tier-mysql: This option assigns a name to the container, in this case,two-tier-mysql.mysql:5.7: This specifies the Docker image to use for the container, in this case, it's MySQL version 5.7.
So, this command runs a Docker container named two-tier-mysql based on the MySQL 5.7 image. It sets up environment variables for MySQL configuration and mounts the current directory as a volume for persistence. The container is connected to the twotier network.

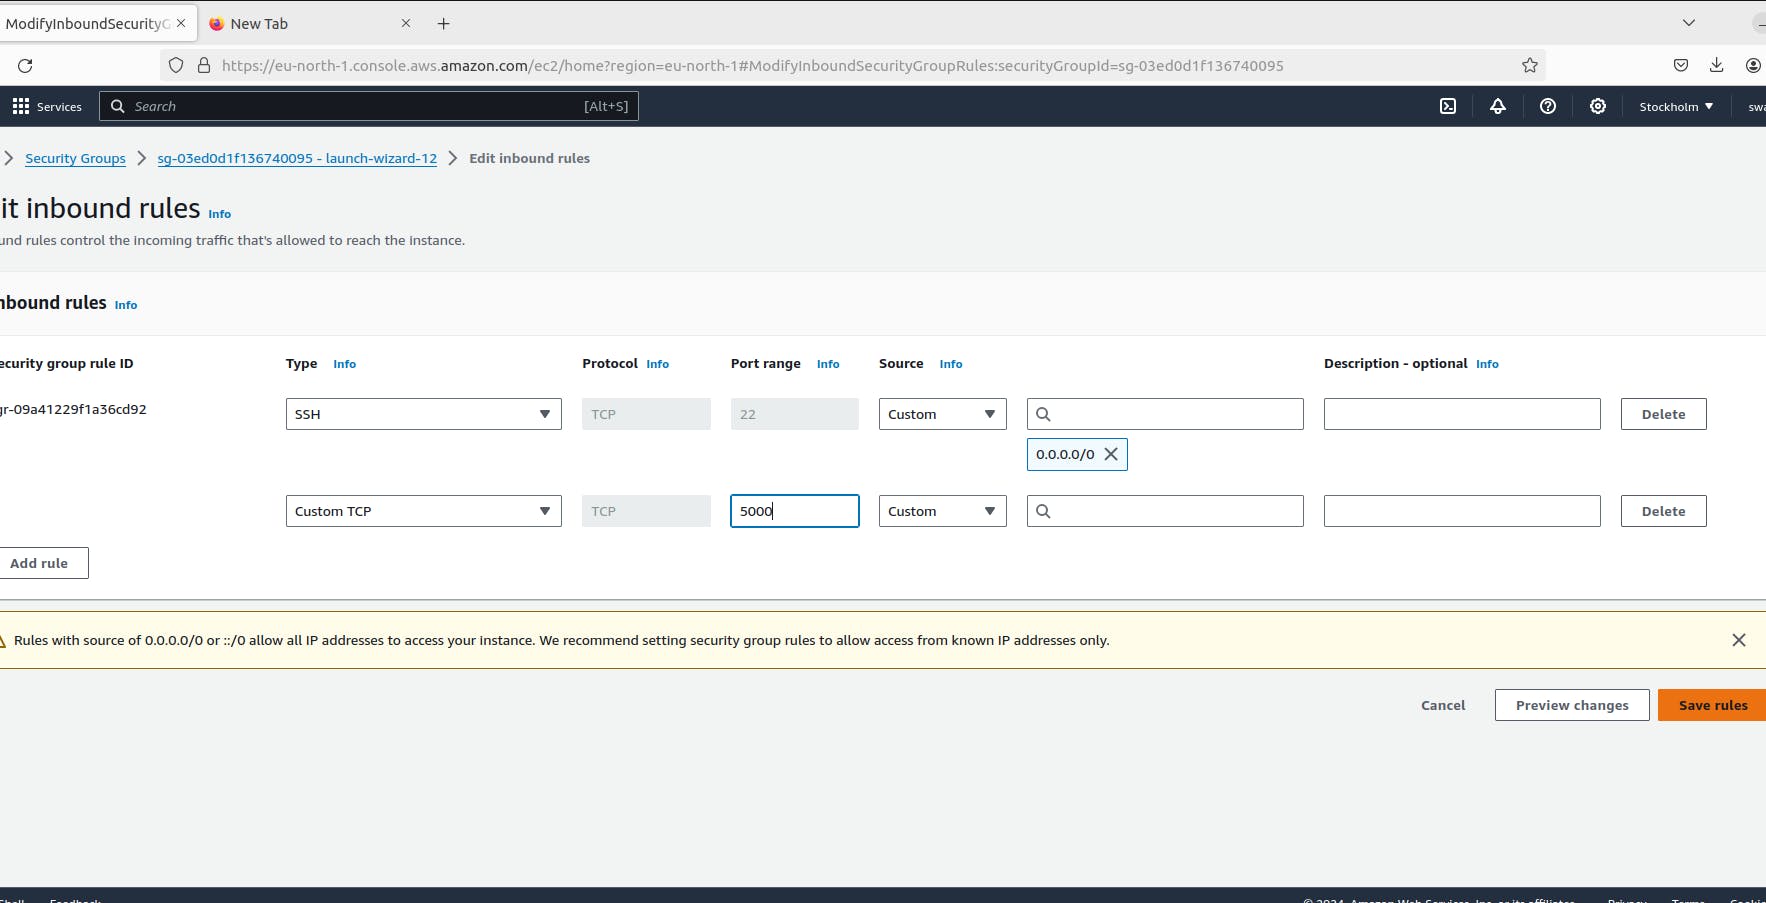
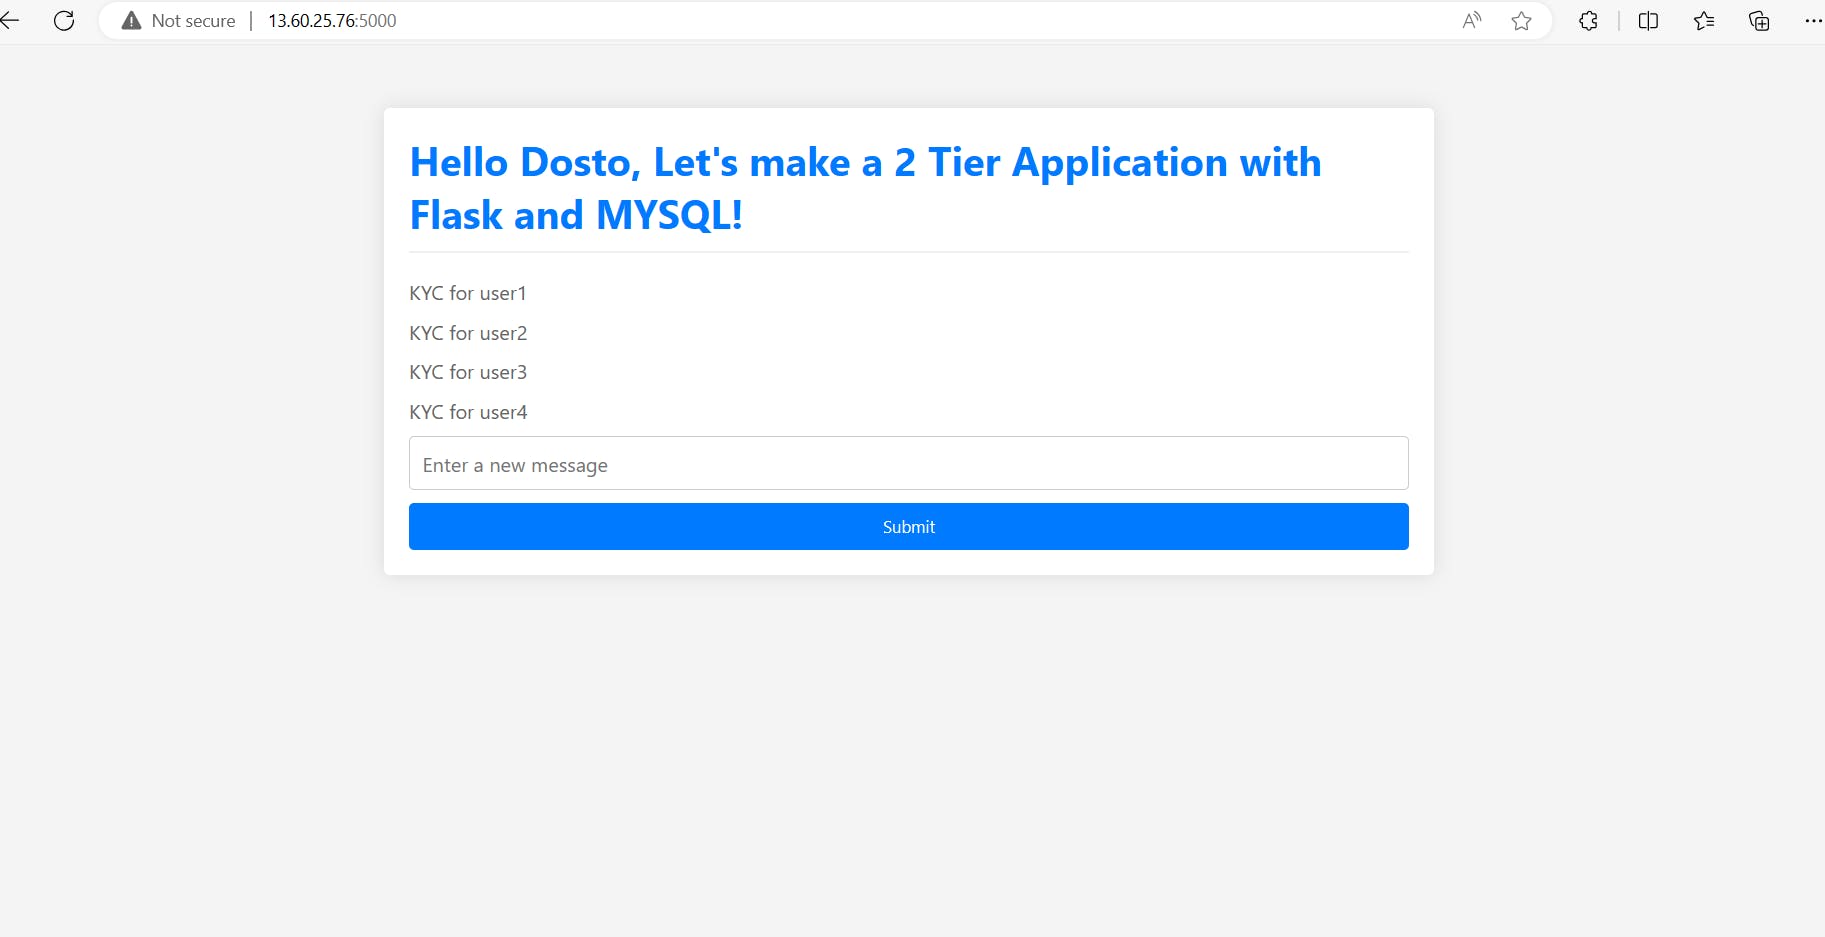
Access the Flask App: You can now access the Flask app in your web browser:
Frontend: http://localhost
Backend: http://localhost:5000
Create the Messages Table: Using a MySQL client or tool, execute the following SQL commands to create the
messagestable:docker ps docker exec -it containerid bash mysql -u root -p show databases; create database KYC;use KYC; CREATE TABLE messages ( id INT AUTO_INCREMENT PRIMARY KEY, message TEXT ); insert into messages (message) values ("KYC for user1"); insert into messages (message) values ("KYC for user2"); insert into messages (message) values ("KYC for user3"); insert into messages (message) values ("KYC for user4");Build Docker Image: Build a Docker image from the Dockerfile:
docker build -t flaskapp .Run Backend Container: Run the Flask app container and attach it to the
twotiernetwork:docker run -d -p 5000:5000 -e MYSQL_HOST=two-tier-mysql -e MYSQL_USER=root -e MYSQL_PASSWORD=test@123 -e MYSQL_DB=KYC --network twotier two-tier-backend:latest docker psCertainly! Let's break down each part of the provided Docker commands:
docker run -d -p 5000:5000 -e MYSQL_HOST=two-tier-mysql -e MYSQL_USER=root -e MYSQL_PASSWORD=test@123 -e MYSQL_DB=KYC --network twotier two-tier-backend:latestdocker run: This command is used to run a Docker container from an image.-d: This flag runs the container in detached mode, meaning it runs in the background.-p 5000:5000: This option maps port 5000 on the host to port 5000 on the container. It allows access to the Flask app running inside the container.-e MYSQL_HOST=two-tier-mysql -e MYSQL_USER=root -e MYSQL_PASSWORD=test@123 -e MYSQL_DB=KYC: These options set environment variables inside the container. They define the MySQL host, username, password, and database name that the Flask app will use to connect to the MySQL database.--network twotier: This option specifies the network the container should connect to. Here, it's connecting to a network namedtwotier.two-tier-backend:latest: This specifies the Docker image to use for the container, in this case, it'stwo-tier-backendwith thelatesttag.
So, this command runs a Docker container based on the two-tier-backend image. It exposes port 5000 for the Flask app and sets up environment variables for MySQL configuration. The container is connected to the twotier network.
docker ps
docker ps: This command lists the currently running Docker containers.
This command simply lists the running Docker containers on the host. It's typically used to check the status of containers and ensure that they are running as expected.
To test the Flask app running on port 5000, you can use the following URL format in your browser:
Replace <server_ip> with the IP address of the server where the Flask app is running. If you're testing it locally on your machine, you can use localhost or 127.0.0.1 as the server IP:5000.
Notes
Ensure to replace placeholders (e.g., your_username, your_password, your_database) with your actual MySQL configuration.
This setup is intended for demonstration purposes. In a production environment, adhere to best practices for security and performance.
Exercise caution when executing SQL queries directly. Always validate and sanitize user inputs to prevent vulnerabilities like SQL injection.
Conclusion
In this guide, we've covered the process of deploying a two-tier Flask app with MySQL using Docker. By leveraging Docker containers, we can easily manage and deploy complex applications with minimal overhead. Containerization offers scalability, portability, and consistency, making it an ideal choice for modern software development workflows.