

Introduction to Minikube
Minikube is a tool that enables developers to run a single-node Kubernetes cluster on their local machine. Kubernetes, an open-source container orchestration platform, is designed to automate the deployment, scaling, and management of containerized applications. While Kubernetes is primarily used in production environments, Minikube provides a lightweight solution for developers to experiment, develop, and test Kubernetes applications locally.
Why Minikube?
Minikube offers several advantages for developers:
Local Development Environment: With Minikube, developers can create a Kubernetes cluster on their laptop or desktop machine, eliminating the need for a dedicated infrastructure or cloud environment. This allows for rapid iteration and testing of Kubernetes applications without impacting production environments.
Isolated Testing: Minikube enables developers to test their applications in an isolated environment, ensuring that changes and updates do not affect other applications or services. This promotes experimentation and innovation without risking the stability of production systems.
Learning and Education: Minikube is an excellent tool for learning Kubernetes concepts and practices. By running a local Kubernetes cluster with Minikube, developers can gain hands-on experience with Kubernetes features such as pods, services, deployments, and more, in a controlled environment.
Resource Efficiency: Minikube utilizes lightweight virtualization technologies to create a local Kubernetes cluster, minimizing resource requirements and overhead. This makes it suitable for developers with limited hardware resources or those working on resource-constrained environments.
This guide provides step-by-step instructions for installing Minikube on Ubuntu. Minikube allows you to run a single-node Kubernetes cluster locally for development and testing purposes.
Pre-requisites
Ubuntu OS
sudo privileges
Internet access
Virtualization support enabled (Check with
egrep -c '(vmx|svm)' /proc/cpuinfo, 0=disabled 1=enabled)
Step 1: Update System Packages
First, update your package lists to ensure you are getting the latest version and dependencies.
sudo apt update

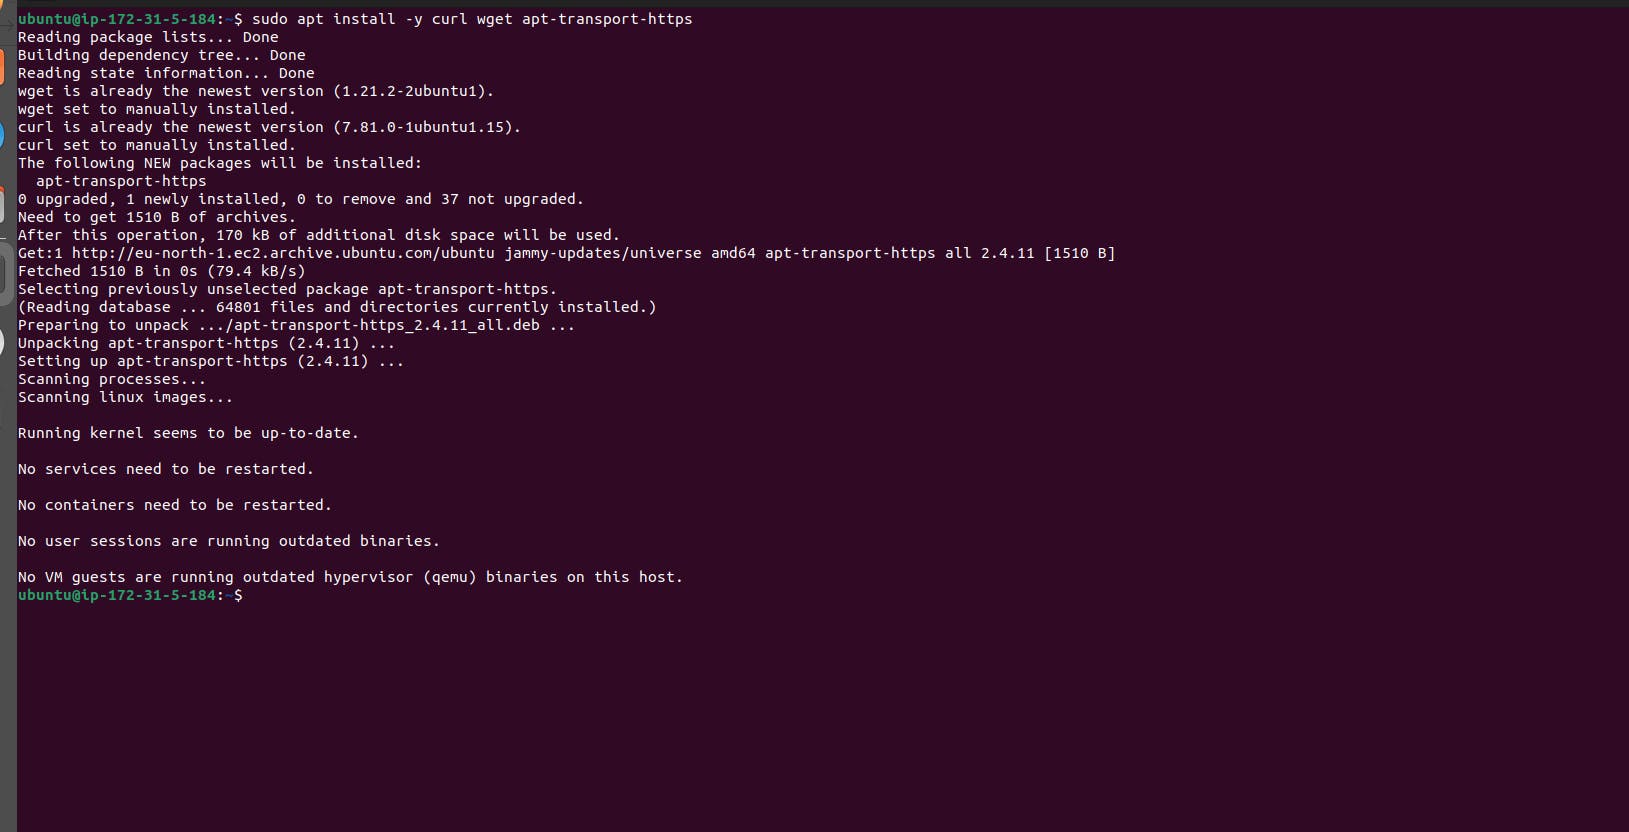
Step 2: Install Required Packages
Install some basic required packages.
sudo apt install -y curl wget apt-transport-https
Step 3: Install Docker
Minikube can run a Kubernetes cluster either in a VM or locally via Docker. This guide demonstrates the Docker method.
sudo apt install -y docker.io
Start and enable Docker.
sudo systemctl enable --now docker
Add the current user to the docker group (To use docker without root)
sudo usermod -aG docker $USER && newgrp docker
Now, logout (use exit command) and connect again.


Step 4: Install Minikube
First, download the Minikube binary using curl:
curl -Lo minikube https://storage.googleapis.com/minikube/releases/latest/minikube-linux-amd64
Make it executable and move it into your path:
chmod +x minikube
sudo mv minikube /usr/local/bin/
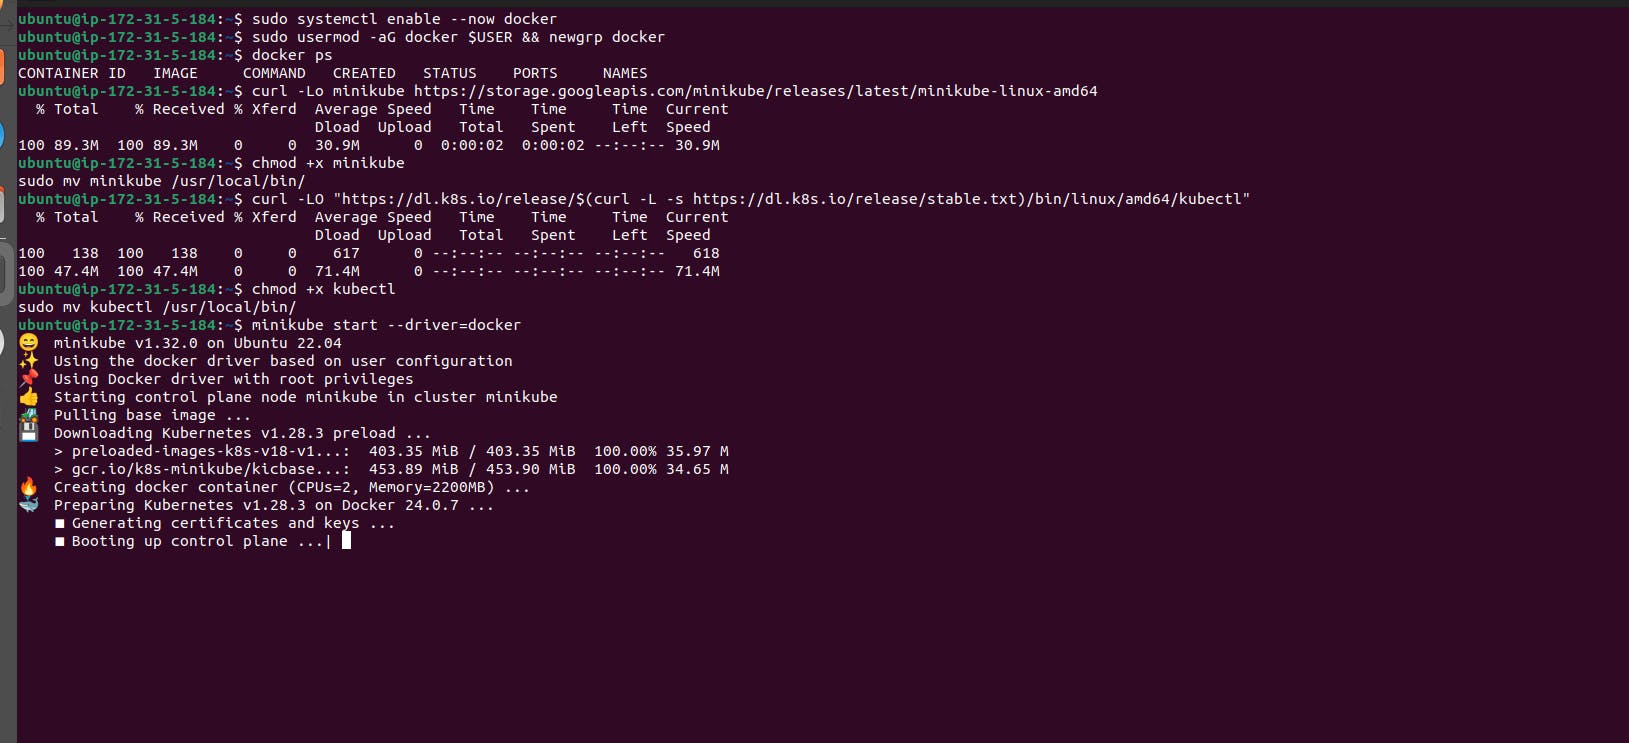
Step 5: Install kubectl
Download kubectl, which is a Kubernetes command-line tool.
curl -LO "https://dl.k8s.io/release/$(curl -L -s https://dl.k8s.io/release/stable.txt)/bin/linux/amd64/kubectl"
Make it executable and move it into your path:
chmod +x kubectl
sudo mv kubectl /usr/local/bin/
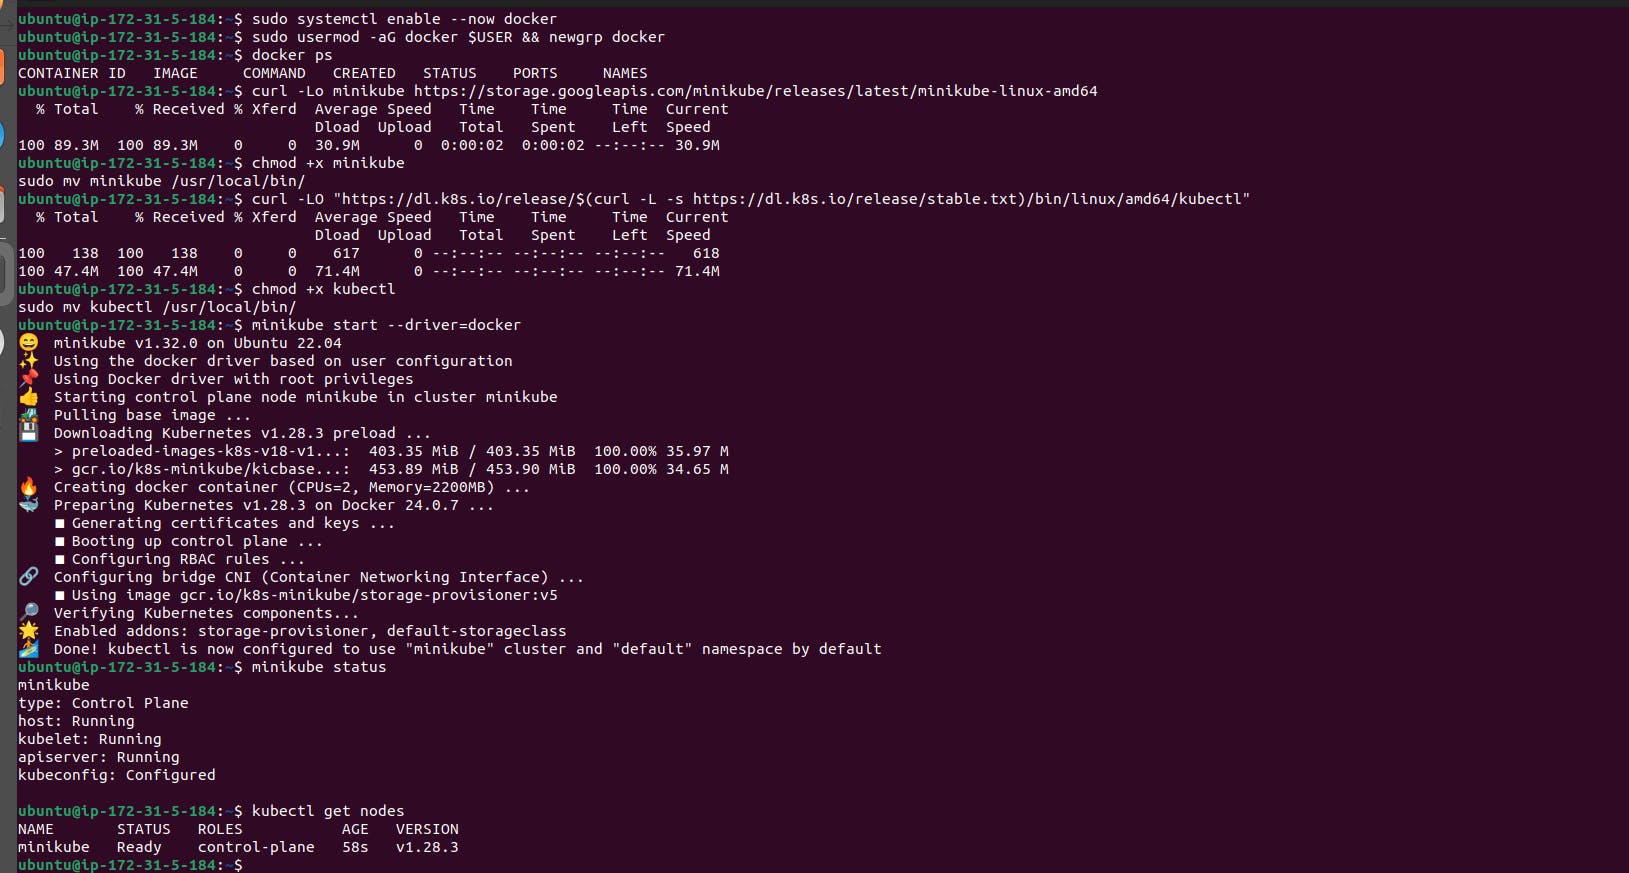
Step 6: Start Minikube
Now, you can start Minikube with the following command:
minikube start --driver=docker
This command will start a single-node Kubernetes cluster inside a Docker container.
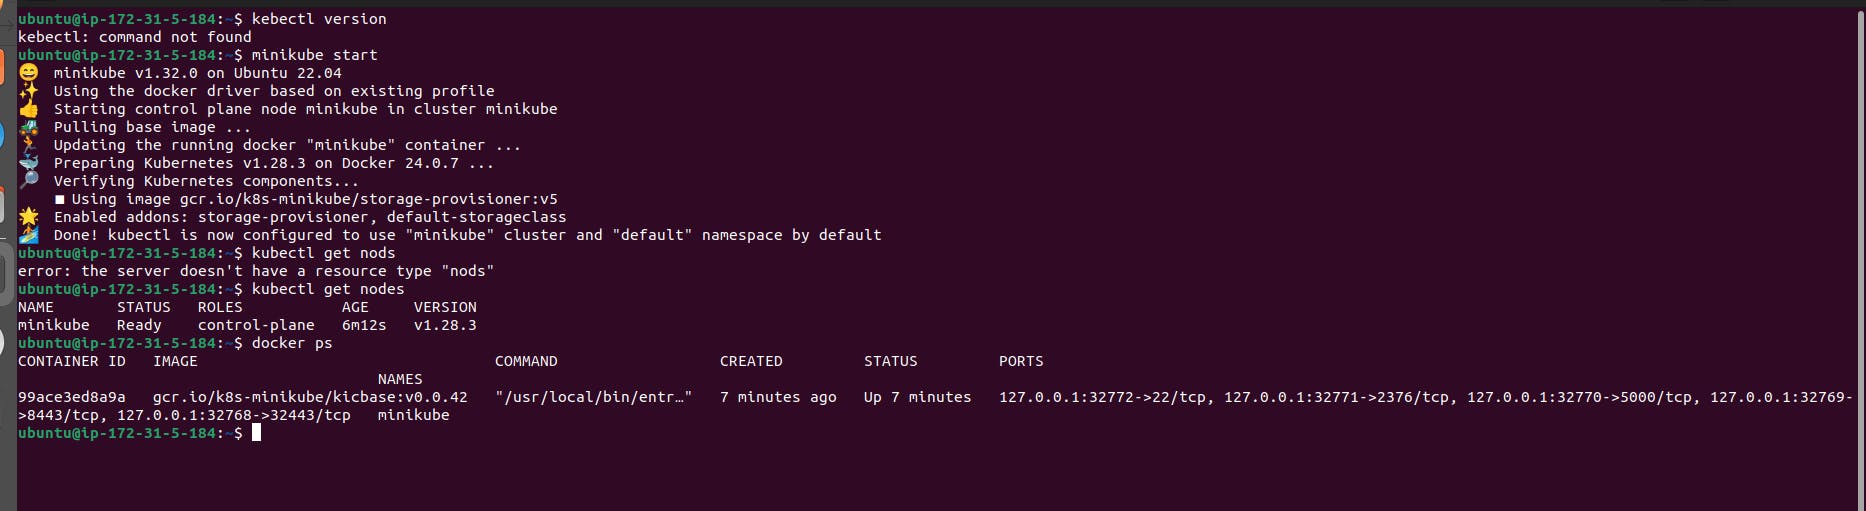
Step 7: Check Cluster Status and Enter Minikube Container
Check the cluster status with:
minikube status
You can also use kubectl to interact with your cluster:
kubectl get nodes
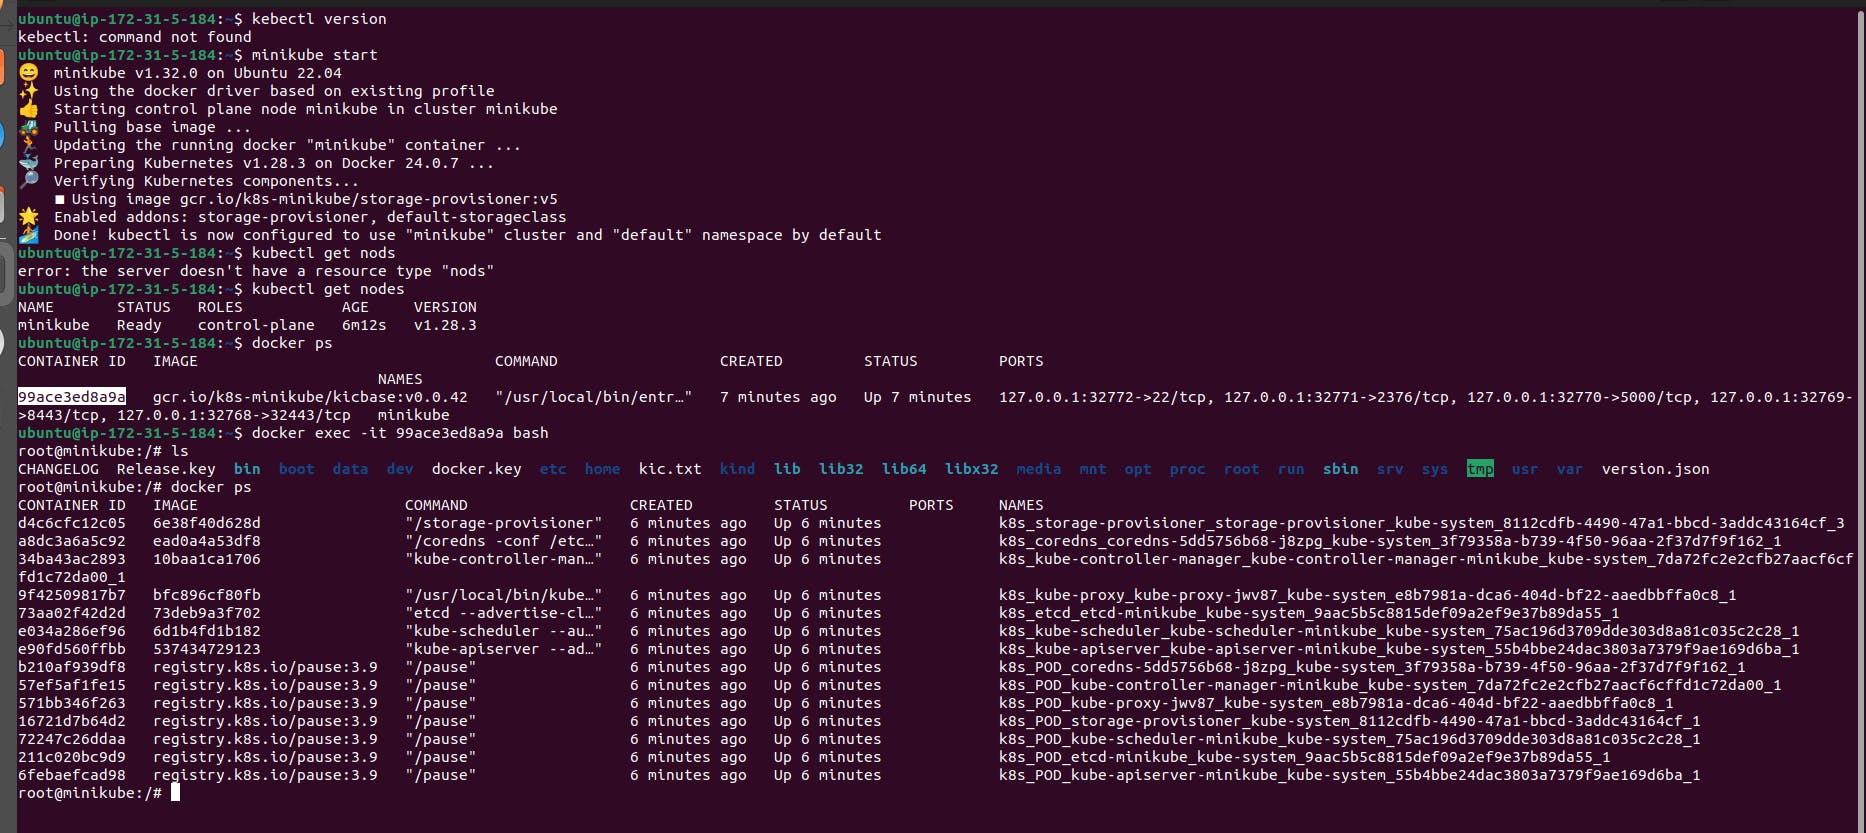
After confirming that the Minikube cluster is running and the components are operational, you can enter the Minikube Docker container to verify the installed components. Here's how you can do it:
List Docker containers to find the Minikube container ID:
docker psNote the container ID of the Minikube container.
Enter the Minikube container using the following command:
docker exec -it <container_id> bashReplace
<container_id>with the actual container ID you noted earlier.Once inside the container, you can run commands to verify the installed components, such as etcd, kube-scheduler, etc. For example:
kubectl get pods --all-namespacesThis command will show all the pods running in the Kubernetes cluster.
You can also interact with the Kubernetes cluster from within the container, for example:
kubectl run my-nginx --image=nginx:latestThis command will deploy an Nginx pod in the Kubernetes cluster.
To exit the container, simply type
exit.
By following these steps, you can verify that all the necessary components are installed and operational within the Minikube Docker container.

Step 8: Stop Minikube
When you are done, you can stop the Minikube cluster with:
minikube stop
Optional: Delete Minikube Cluster
If you wish to delete the Minikube cluster entirely, you can do so with:
minikube delete
That's it! You've successfully installed Minikube on Ubuntu, and you can now start deploying Kubernetes applications for development and testing.
Conclusion
This guide has walked you through the process of installing Minikube on Ubuntu, allowing you to set up a local Kubernetes cluster for development and testing purposes. You've learned about Minikube's significance in providing a lightweight, local Kubernetes environment for developers to experiment and innovate. By following the outlined steps, you've configured Docker, installed Minikube, and verified the cluster's functionality. With Minikube, you can easily deploy and manage containerized applications, gaining valuable experience with Kubernetes in a controlled environment. Whether you're a beginner exploring Kubernetes concepts or a seasoned developer refining your deployment workflow, Minikube offers a convenient platform to hone your skills and accelerate your development process. Now, equipped with Minikube, you're ready to explore Kubernetes further, dive into its rich ecosystem of tools and resources, and begin building and testing your own applications with confidence and efficiency.
Ready to get started with Minikube? Follow the installation steps and embark on your Kubernetes journey today!